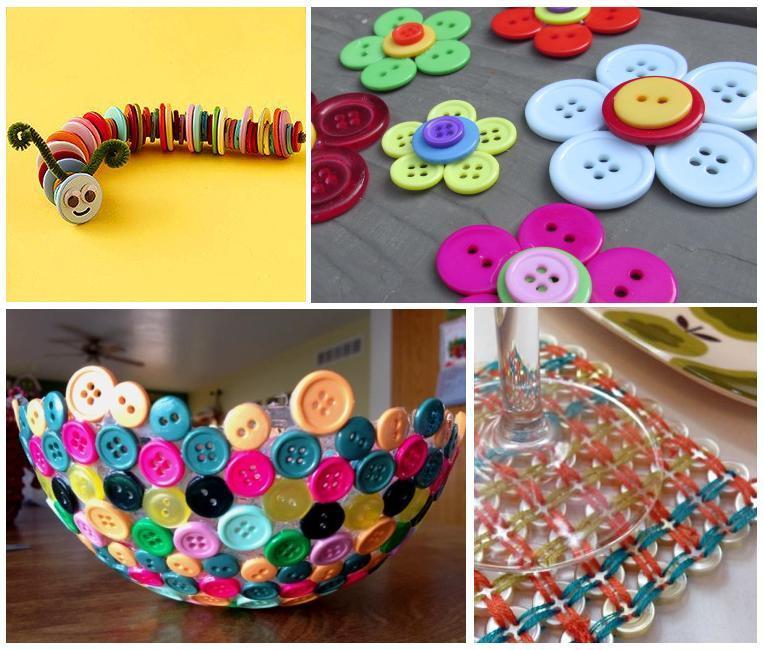
How to Make Crafts with Buttons - 5 DIY Tutorials


Do you want to make some creative crafts spending next to no money? Start looking for and collecting some old buttons around the home to be used to make crafts. You'll be surprised at the wonderful things you can create easily and economically. You can create an array of different items to decorate your home, some of which can also be very practical. So, what are you waiting for? Keep reading this simple oneHOWTO guide on how to make crafts with buttons.
Button Caterpillar
A very fun idea using buttons is to make a creative worm that will make a great homemade toy or quirky decoration. The amount of buttons you use will depend on how long you want the worm to be. With regards to the color of the buttons, mix and match for a bold, eye-catching look or go for a more subtle approach with uniform color. The choice is yours!
You will need
- Colored buttons (depending on your chosen size)
- Needle
- String
- Googly eye stickers
- Pipe cleaners
Steps
- To stick the buttons together, you'll need a fine thread and a needle to weave the thread in and out of the button holes, linking them together.
- At the end of the line of buttons, tie a double knot to stop any buttons from falling off.
- Do the same on the other end and then cut a piece of cardboard to match the size and shape of the final button.
- This will provide the face of the caterpillar, on which you can attach a pair of googly eyes found in any craft store.
- As for the antenna, some pipe cleaners will do the trick. These are also found in craft stores and come in a variety of different colors.
Button bowl
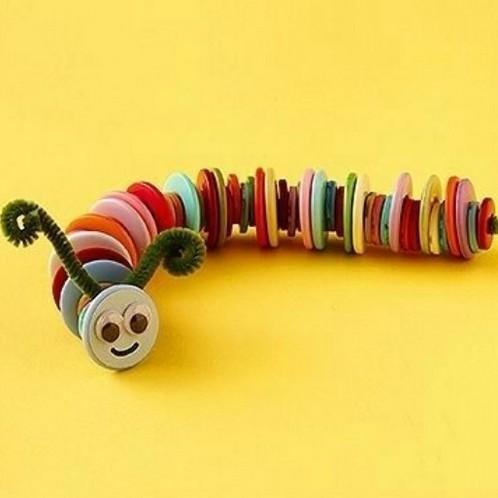
Besides decorative elements, it is also possible to make crafts with buttons that can be used day to day, as is the case with this delightful little bowl. Pay attention to our step by step tutorial.
You will need
- A bowl lined with foil/a balloon
- Buttons of any size and color
- White glue
- Brush
Steps
Note that you have two options:
- You can either use a bowl for lining the materials (plastic, ceramic, metal, etc.) with foil and place the buttons inside on a layer of white glue or...
- If you prefer, you could blow up a balloon and use the balloon to line the buttons in the same way.
- Once the glue has dried and has become transparent, your new button bowl is ready and can be used to hold whatever you like; keys, money, fruit, etc.

Button flowers
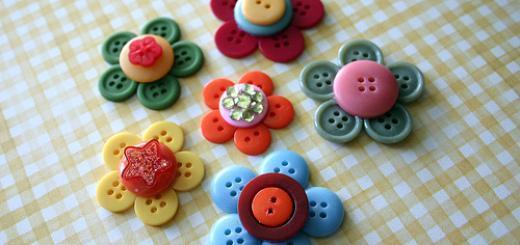
Do you like flowers? Why not create some flowers using buttons, brooches, hairpins, fridge magnets or whatever you can find lying about the house? You don't need much to make this easy button craft, so give it a go!
You will need
- Five matching buttons to create the petals
- White glue
- Surface (anything from a magnet to a hairpin)
Steps
- Simply stick them together and then glue together another layer on top, creating petals similar to that of a daisy.
- If you prefer, you can place two buttons, the smaller on top of the larger one, in the center.
- Once the glue has dried completely, you can use your flower made with buttons to decorate your home. Place it on top of a hook, a magnet, or wherever you fancy.
Button Coasters
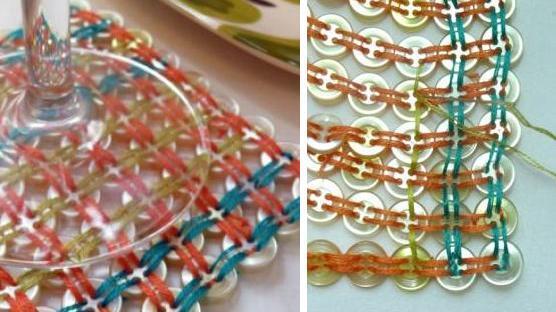
Another quirky and easy craft made with buttons which also has a functional use is to make some coasters to avoid dirtying tables or surfaces in your home. This craft will definitely take a tad more time but, don't worry it is easier than it seems!
You will need
- Buttons
- Needle
- Different colored thread
Steps
- Set the buttons in ten rows of ten buttons each.
- Knot the tip of the threat to the first button.
- The the two buttons by threading the top hole to the second buttons bottom hole.
- Thread the needle past the second button's top hole and move to the next until the end of the row.
- When you get to the end, thread in the opposite direction so all of the holes are threaded.
- When you have all the rows sewn, it's time to tie them up. With another colored thread, repeat the process but this time vertically, uniting all of the rows.
Although it is difficult to explain, it is easy to do and, with the help of some images, you'll know how to make button coasters in no time.
Button Rings
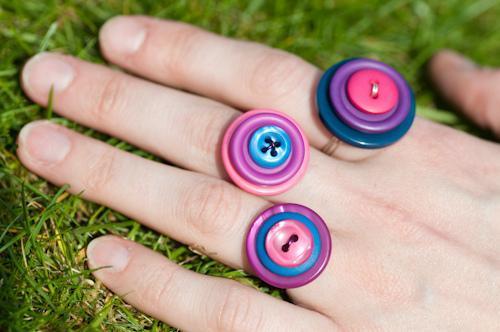
You can also make button jewelry to give your image a funky twist. To do this, we can choose the easy way and buy a ring, necklaces or DIY leather bracelets and glue some buttons on top as decoration. However, if you feel like doing something more elaborate, you could even make the base of the button ring with fine wire and pliers.
You will need
- Colored buttons
- Pliers
- Fine wire
Steps
- Make a wire circle, wrapping about two or three layers of it around in a circle
- Slot the wires through each button hole once before securing it together.
If you enjoyed this article, you're sure to love the following OneHowTo article on cool DIY crafts with wine corks.
If you want to read similar articles to How to Make Crafts with Buttons - 5 DIY Tutorials, we recommend you visit our Art & handicraft category.


