How To Make A Face Out Of Clay


Clay is a versatile material that has been used by artists for thousands of years to create sculptures, pottery, and other forms of artwork. Making a face out of clay can be a fascinating and rewarding artistic endeavor for several reasons. Firstly, it allows artists to express their creativity by bringing a unique vision of a human face to life. Sculpting a face also provides a hands-on experience of working with a malleable material, allowing the artist to experiment with different techniques and explore their skills.
In this article from oneHOWTO, we will explore how to make a face out of clay, including the tools and materials you will need, techniques for sculpting different facial features, and tips for adding texture and detail to your sculpture.
You'll need:
- Clay
- Clay tools
- Craft knife
Steps to follow:
While there are numerous ways to make a clay face, this article presents one approach. Don't be hesitant to experiment and try different techniques that suit your style and preferences. Keep in mind that if you are not satisfied with the outcome, you can always start over by kneading the clay and beginning anew. In fact, the process of destroying and restarting a challenging project can be quite satisfying.
So, embrace the creative process, and don't be afraid to make mistakes or to try again.

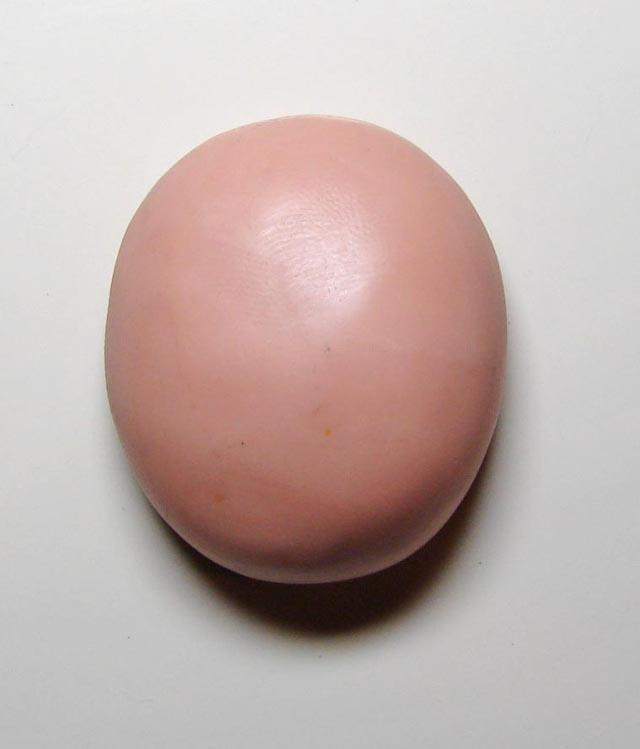
To begin, take the clay and roll it into a ball. Next, place the ball onto a ceramic tile. Working on ceramics is advisable as it helps to maintain the clay's cool temperature, which can become tacky when too warm. Furthermore, when your project is complete, you can bake both the clay and the ceramic tile together in the oven.

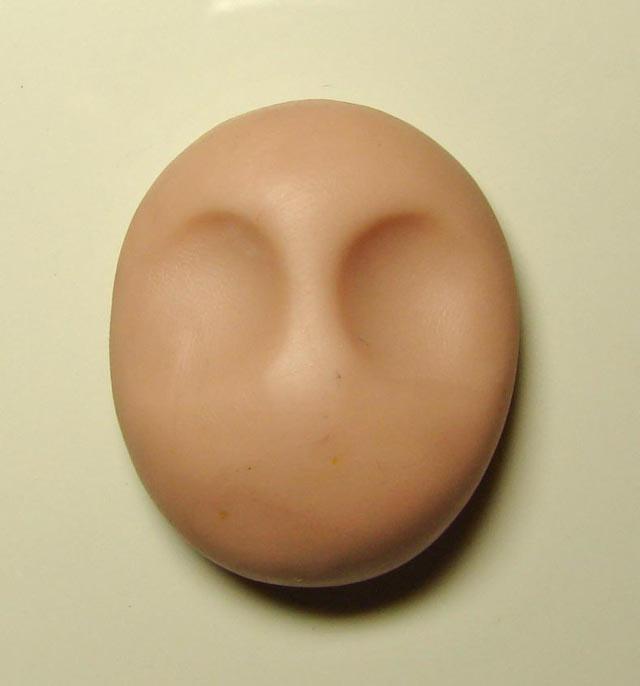
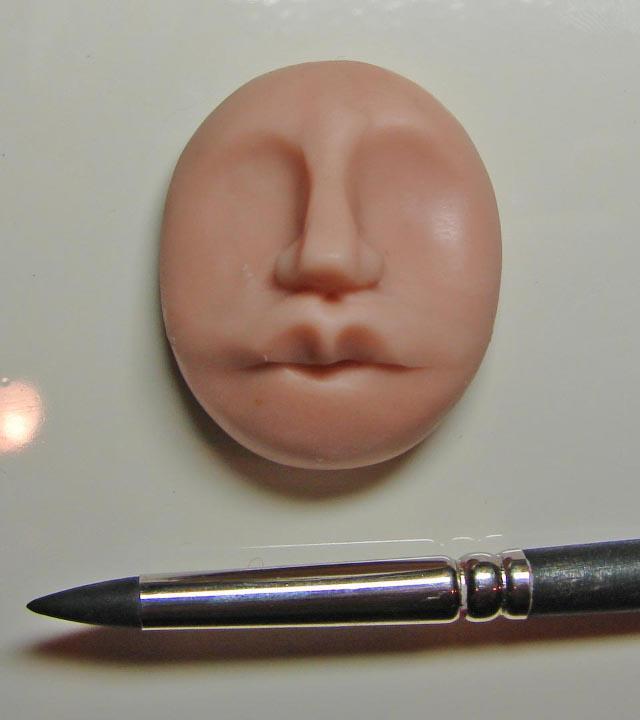
To create the eyes, use your fingers to press the clay at the midpoint or slightly above it, depending on the desired eye placement, gently shaping the clay into the desired eye shape.

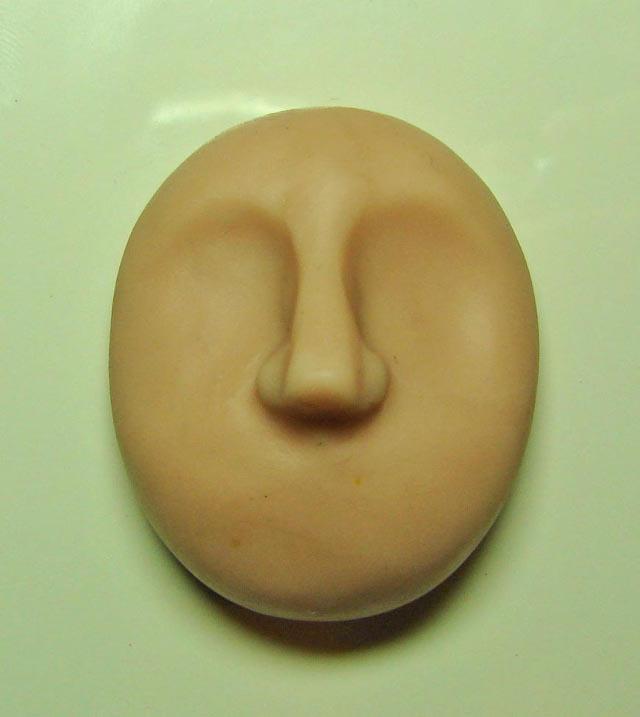
To make the nose, knead a small cone-shaped piece of clay, then gently lengthen it into a long triangle. Next, position the triangle-shaped nose between the eyes, and add two small balls of clay on each side of the nose to form the nostrils. This will create a basic nose structure for your clay face.

To seamlessly integrate the various parts of the clay face, use your fingers and a clay modelling tool (or a suitable substitute if you don't have one) to blend the edges together. This will help to create a smooth and continuous surface.
Before proceeding, mark where the mouth will be located on the clay face. This will serve as a guide for shaping the lips later on.

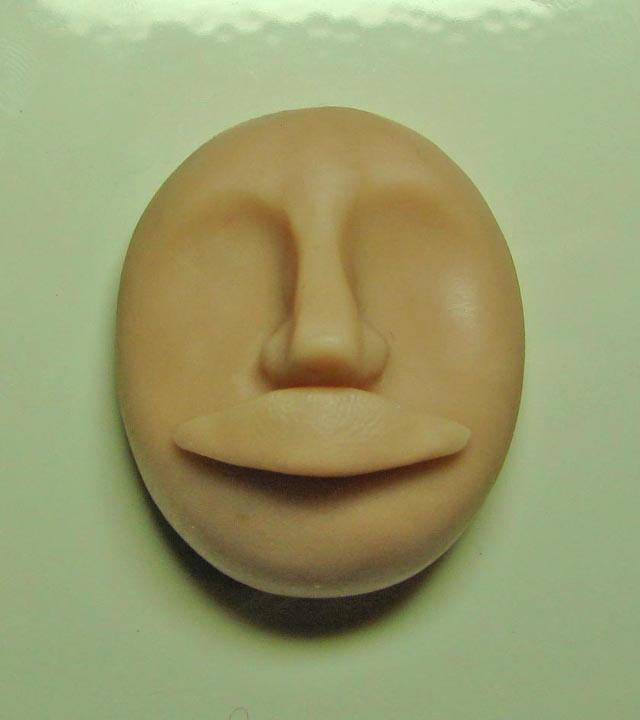
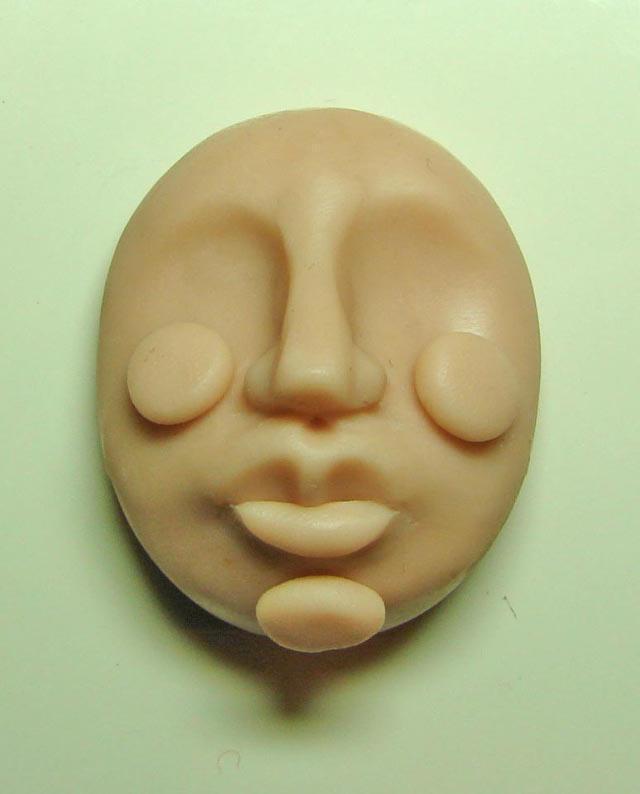
To create the upper lip, take a small amount of clay and shape it into a triangle with a rounded top. Gently press the upper edge of the triangle to make it thinner than the bottom edge. This will make it easier to attach the nose and cheeks.
Position the upper lip below the nose, ensuring it is in the correct location based on the mouth placement marked earlier.

Using a clay tool, blend the top of the upper lip piece with the nose and cheeks, ensuring a seamless transition between the different parts of the face.
Next, press the center of the upper lip piece under the nose to create a dip, which will give the upper lip its shape. Finally, press upwards from the bottom, which is the thickest part of the upper lip piece, in two places to form the upper lip's final shape.

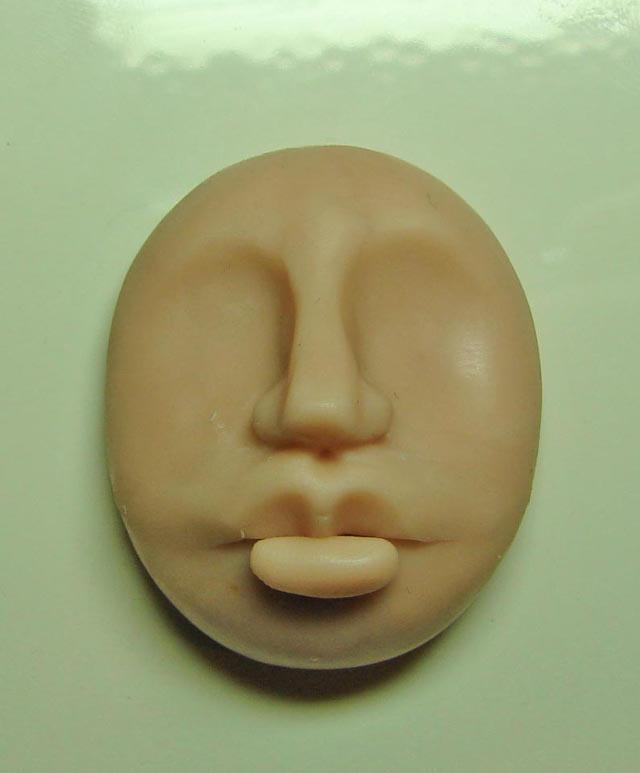
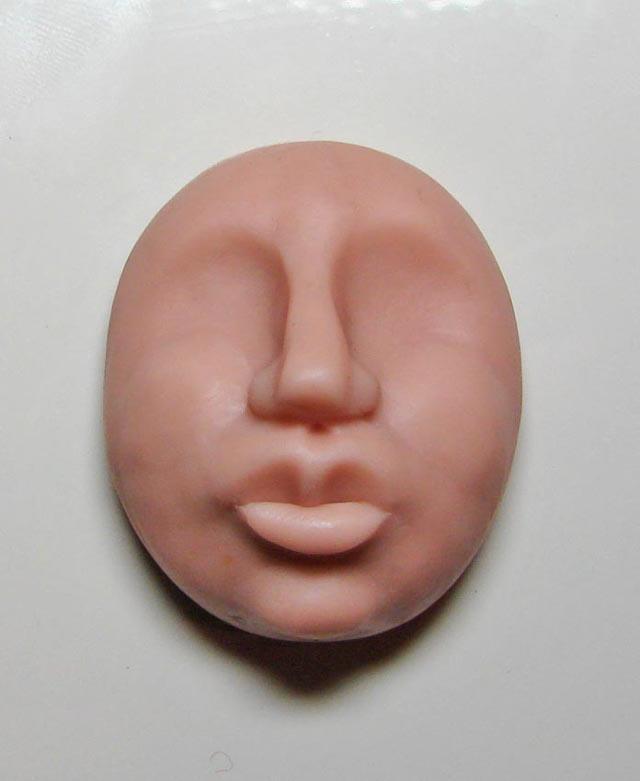
To make the lower lip, knead a small piece of clay into an oval shape and position it beneath the upper lip. If the lower lip is too big, don't worry, as you can always remove some excess clay later. Focus on positioning it in the correct location for the mouth, and adjust the size as needed to achieve the desired shape.

Smooth out the bottom edge of the face to make it blend seamlessly, but avoid altering the top edge.

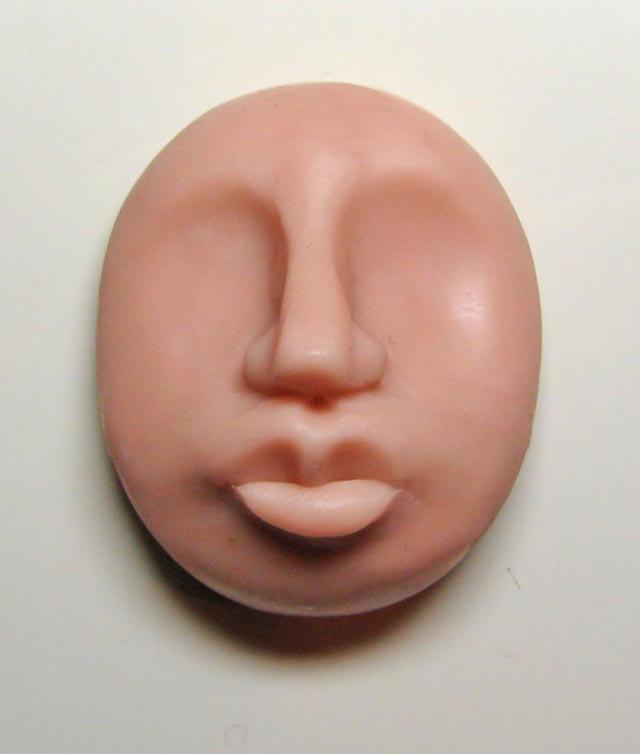
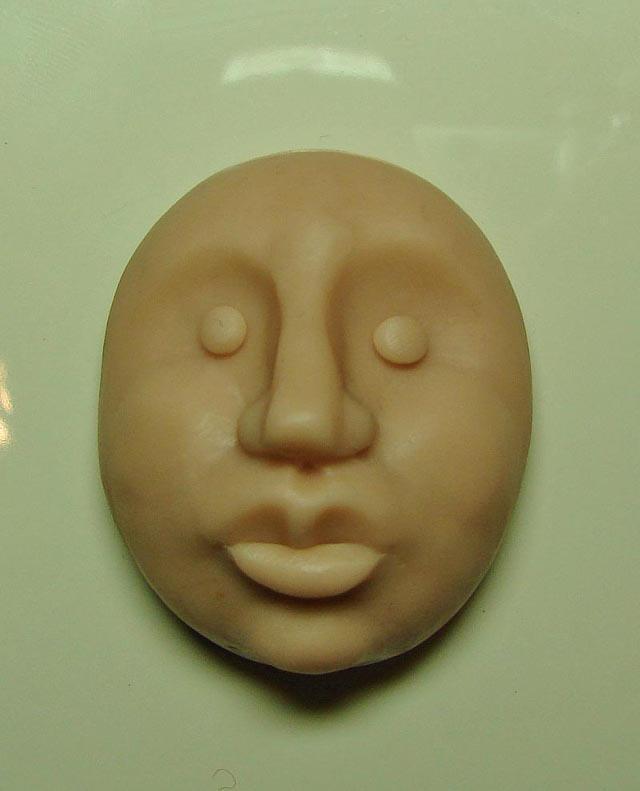
Take three small clay balls, with one being smaller than the other two. Place the smaller ball on the chin and the two equal-sized balls on the cheeks. Then press down on them until they flatten out into disc shapes instead of remaining as balls.

Smooth out the edges where the clay pieces meet. Take two small clay balls and use them as the eyes. Experiment with their placement to create different expressions. Even a small adjustment can change the whole look. Once satisfied, gently press the clay to secure and ensure a proper seal.

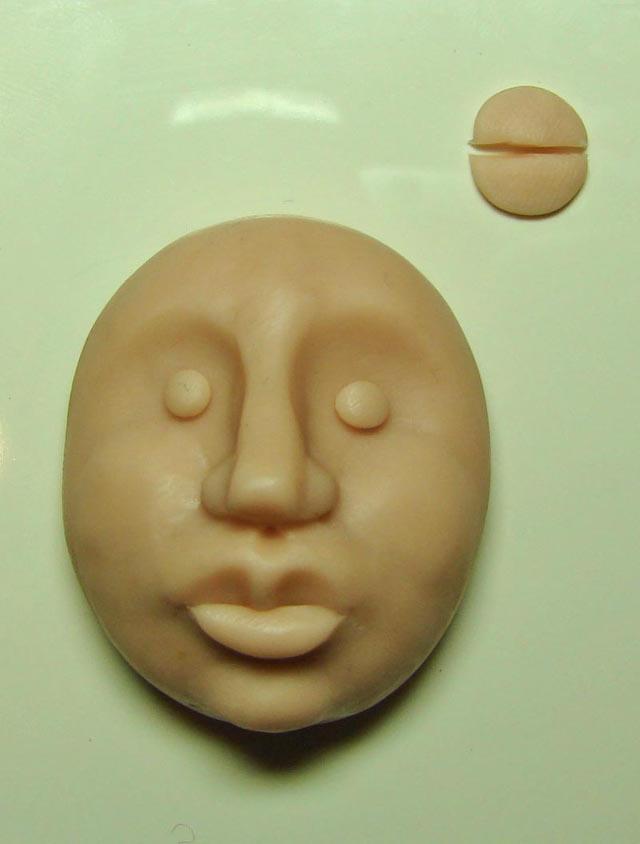
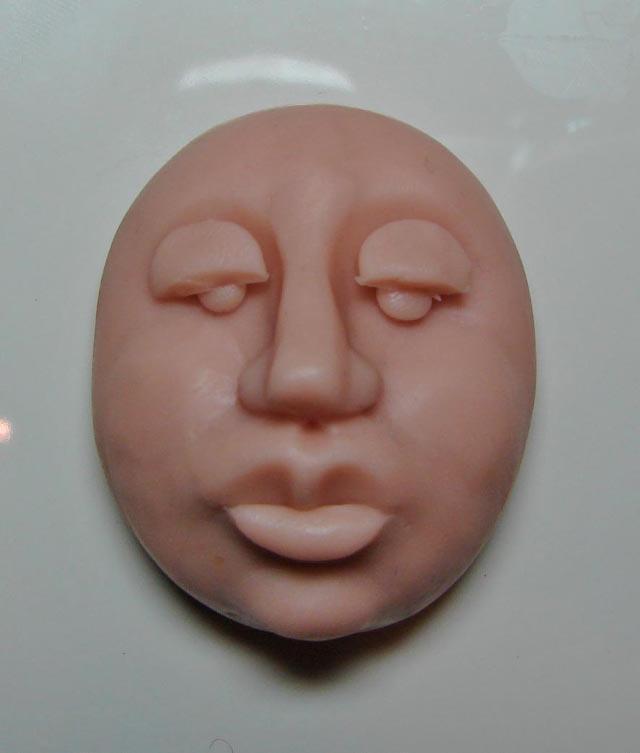
Mold a slightly larger ball of clay and press it onto the ceramic surface. Flatten it into a thin disk. Then, using a sharp instrument such as a craft knife, draw a line to cut the disk in half. Carefully lift each half and place them over the eyes to form the eyelids.

This step can be challenging as it may take multiple attempts to remove the clay from the tile without breaking it. To make it easier, allow the clay to cool for a few minutes before attempting to remove it. Once removed, blend the eyelids onto the top part of the face.

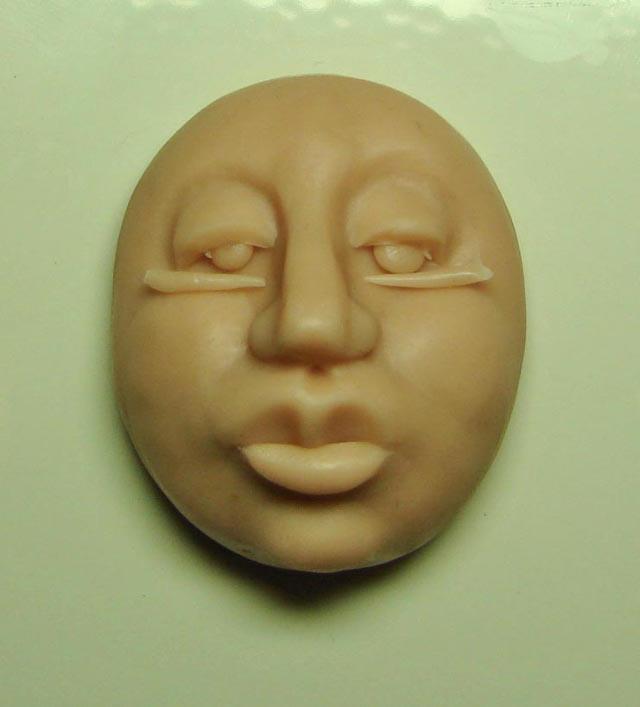
To make the lower lids of the eyes, roll out two small snakes and place them under each eye. Push them in a curve to follow the shape of the eye. Finally, blend the lower parts carefully to ensure a smooth transition.

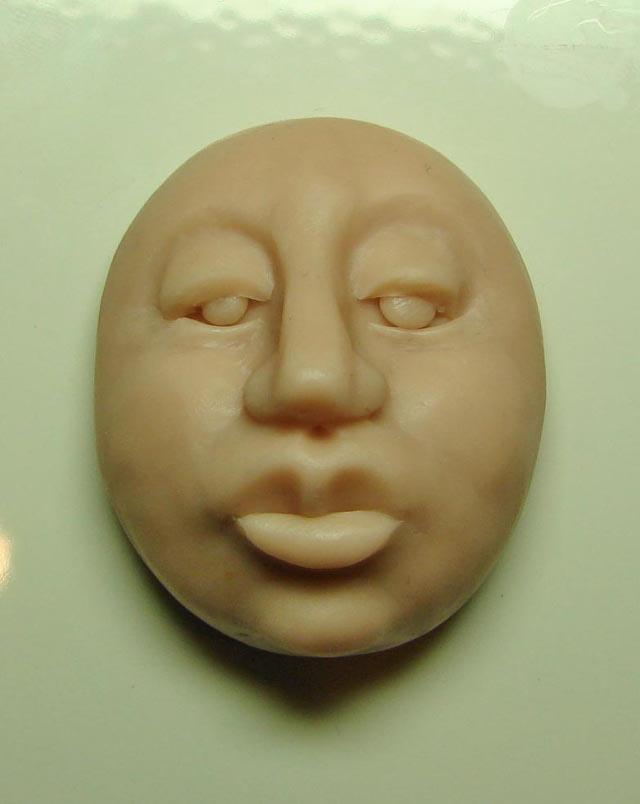
With the help of your fingers and a clay tool, you can manipulate and shape the clay to your desired look. When you are satisfied, follow the instructions on the clay pack to preheat the oven to the appropriate temperature (as different brands may have varying cooking temperatures).

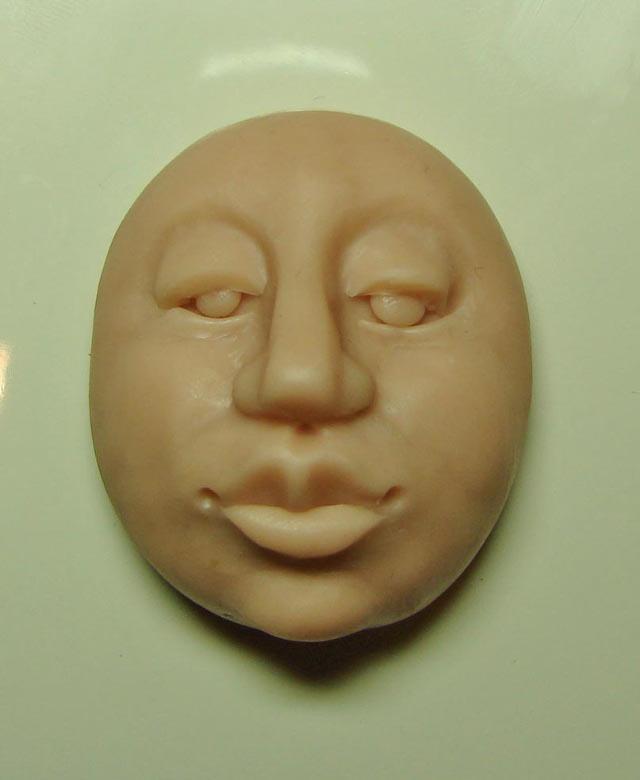
Step by step image

Step by step image

Step by step image

If you want to read similar articles to How To Make A Face Out Of Clay, we recommend you visit our Art & handicraft category.


