How to Make a Cube out of Cardboard


A cube is a polyhedron with six square faces. Thus, one cube is also a hexahedron as it has six faces. This shape is incredibly versatile and it is useful to know how to create your own quickly. If you need to learn how to make a cardboard cube for a school project or want to create your very own dice, at oneHOWTO we will give you an easy, printable step-by-step guide.
You'll need:
- Template (or if you don't have a printer: pencil, eraser, and ruler to draw the template)
- Scissors
- Glue
- Paper, cardboard, or paperboard
- Colored pens
- Decorations of your choice
Steps to follow:
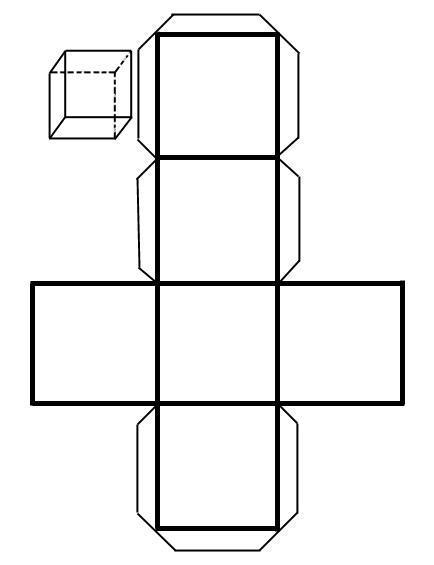
Copy this template of the cube on your choice of material, whether it be paper, cardboard, or paperboard. Make sure all sides of each square are the same size, as well as making the flaps more or less similar. Consistency and correct measurements are key here. We have used thick black lines so that we can more easily show you what to do as a guide, but you don't need to use them if you don't want to when making your own. Additionally, ensure the material you choose is sturdy enough to hold its shape once assembled.

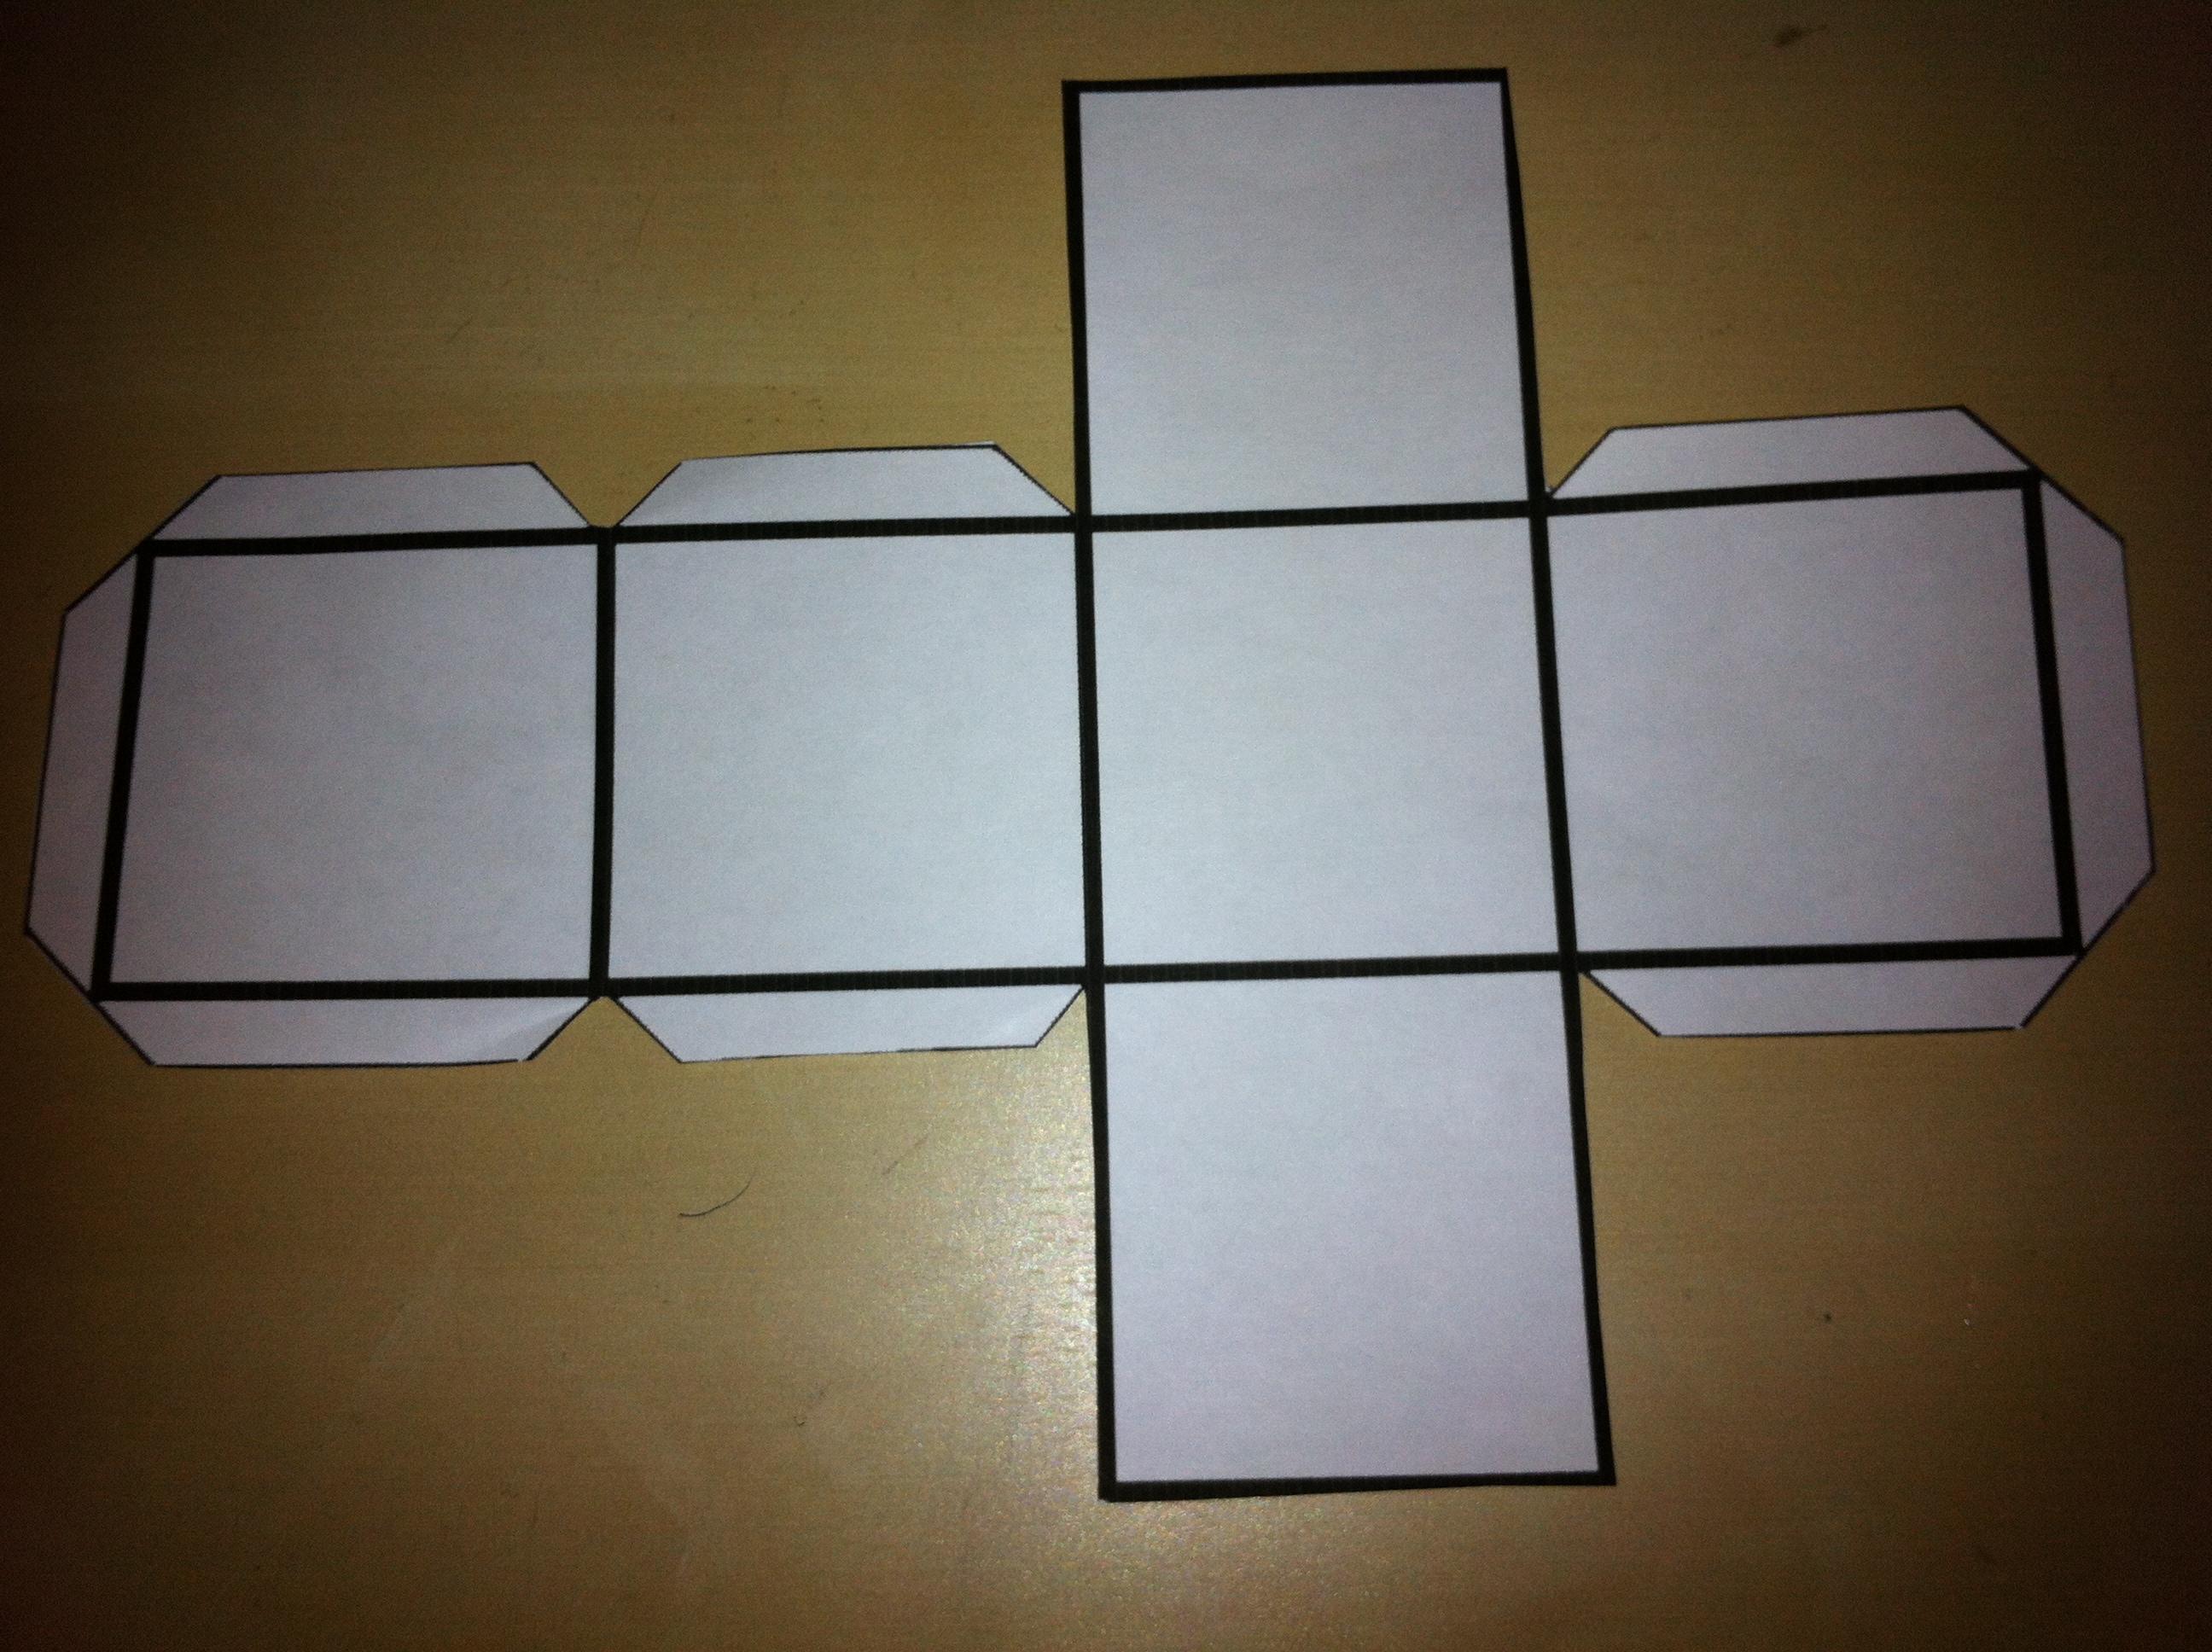
Cut out the cube template with scissors. This is the most convenient method. However, you could also use a cutter on a specifically designed cutting board to ensure your surface doesn't get damaged. When working with blades of any kind, you must ensure safety. Do not allow a child to use a blade. It might be helpful to mark the lines with a pencil before cutting to ensure precision.

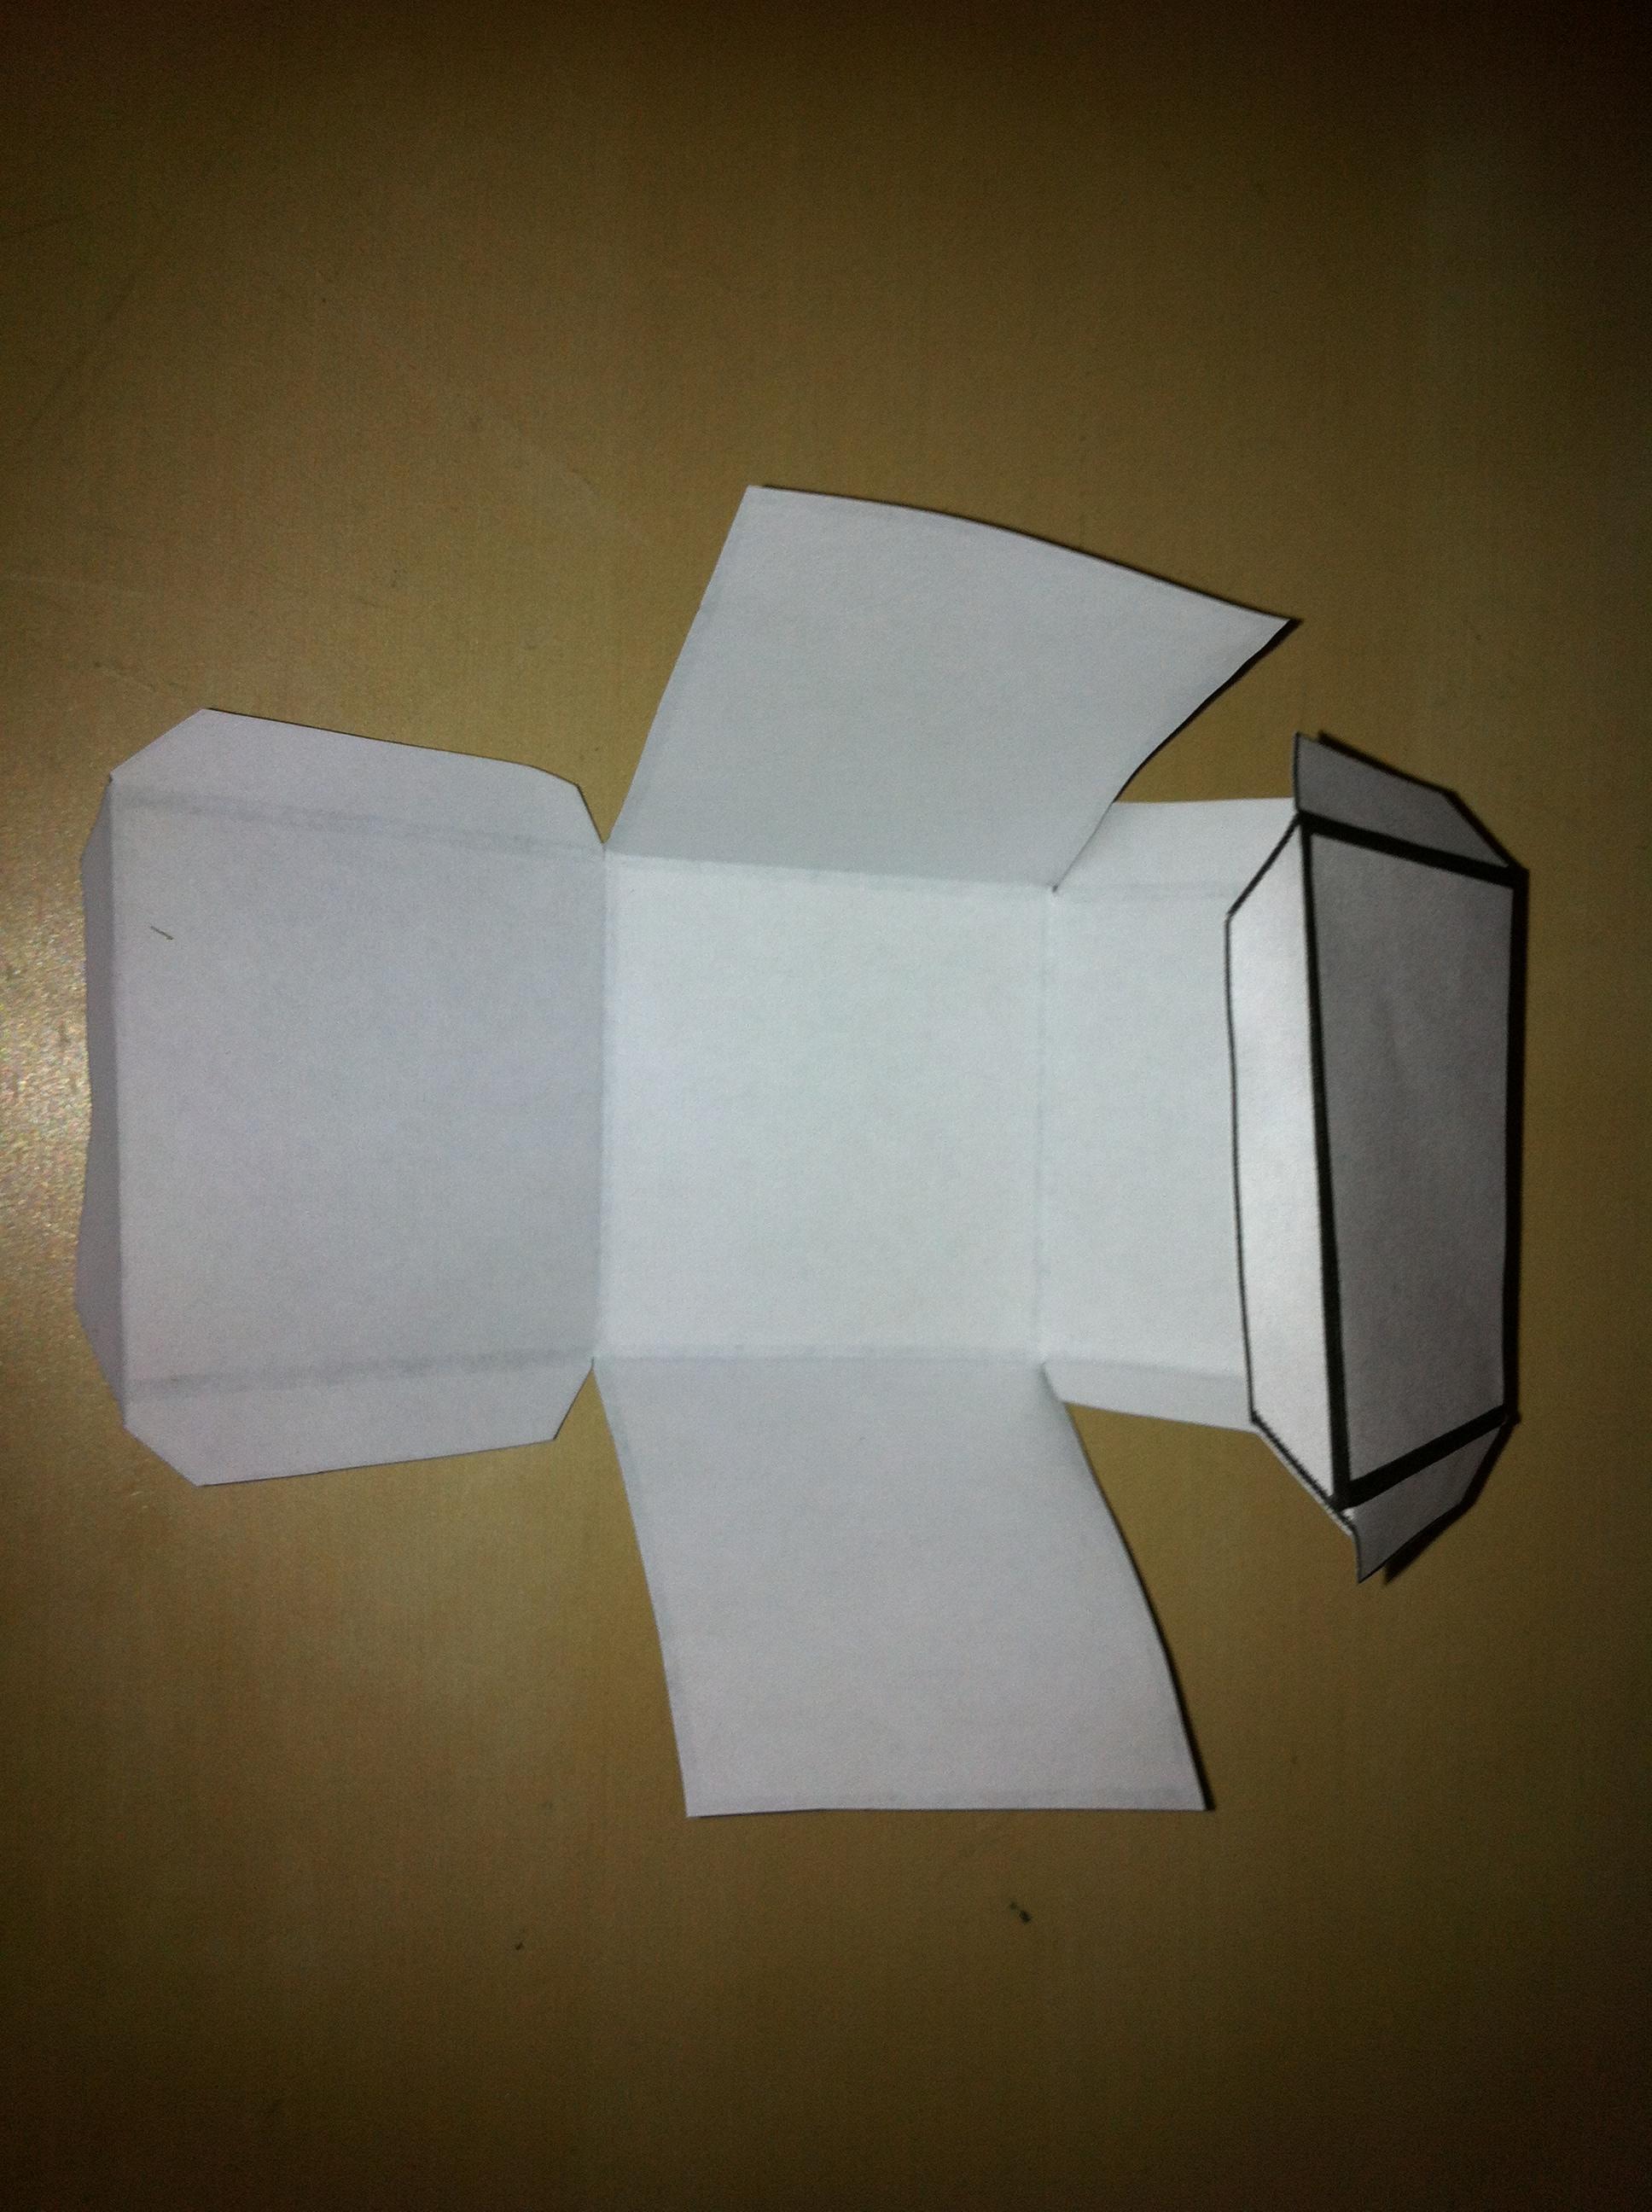
Fold along all lines of the template. Try mounting the cube before applying any glue to be sure that each tab fits in and the template has been measured and cut accurately. This step ensures that any necessary adjustments can be made easily. For instance, if you notice any misalignment, you can quickly rectify it before gluing.

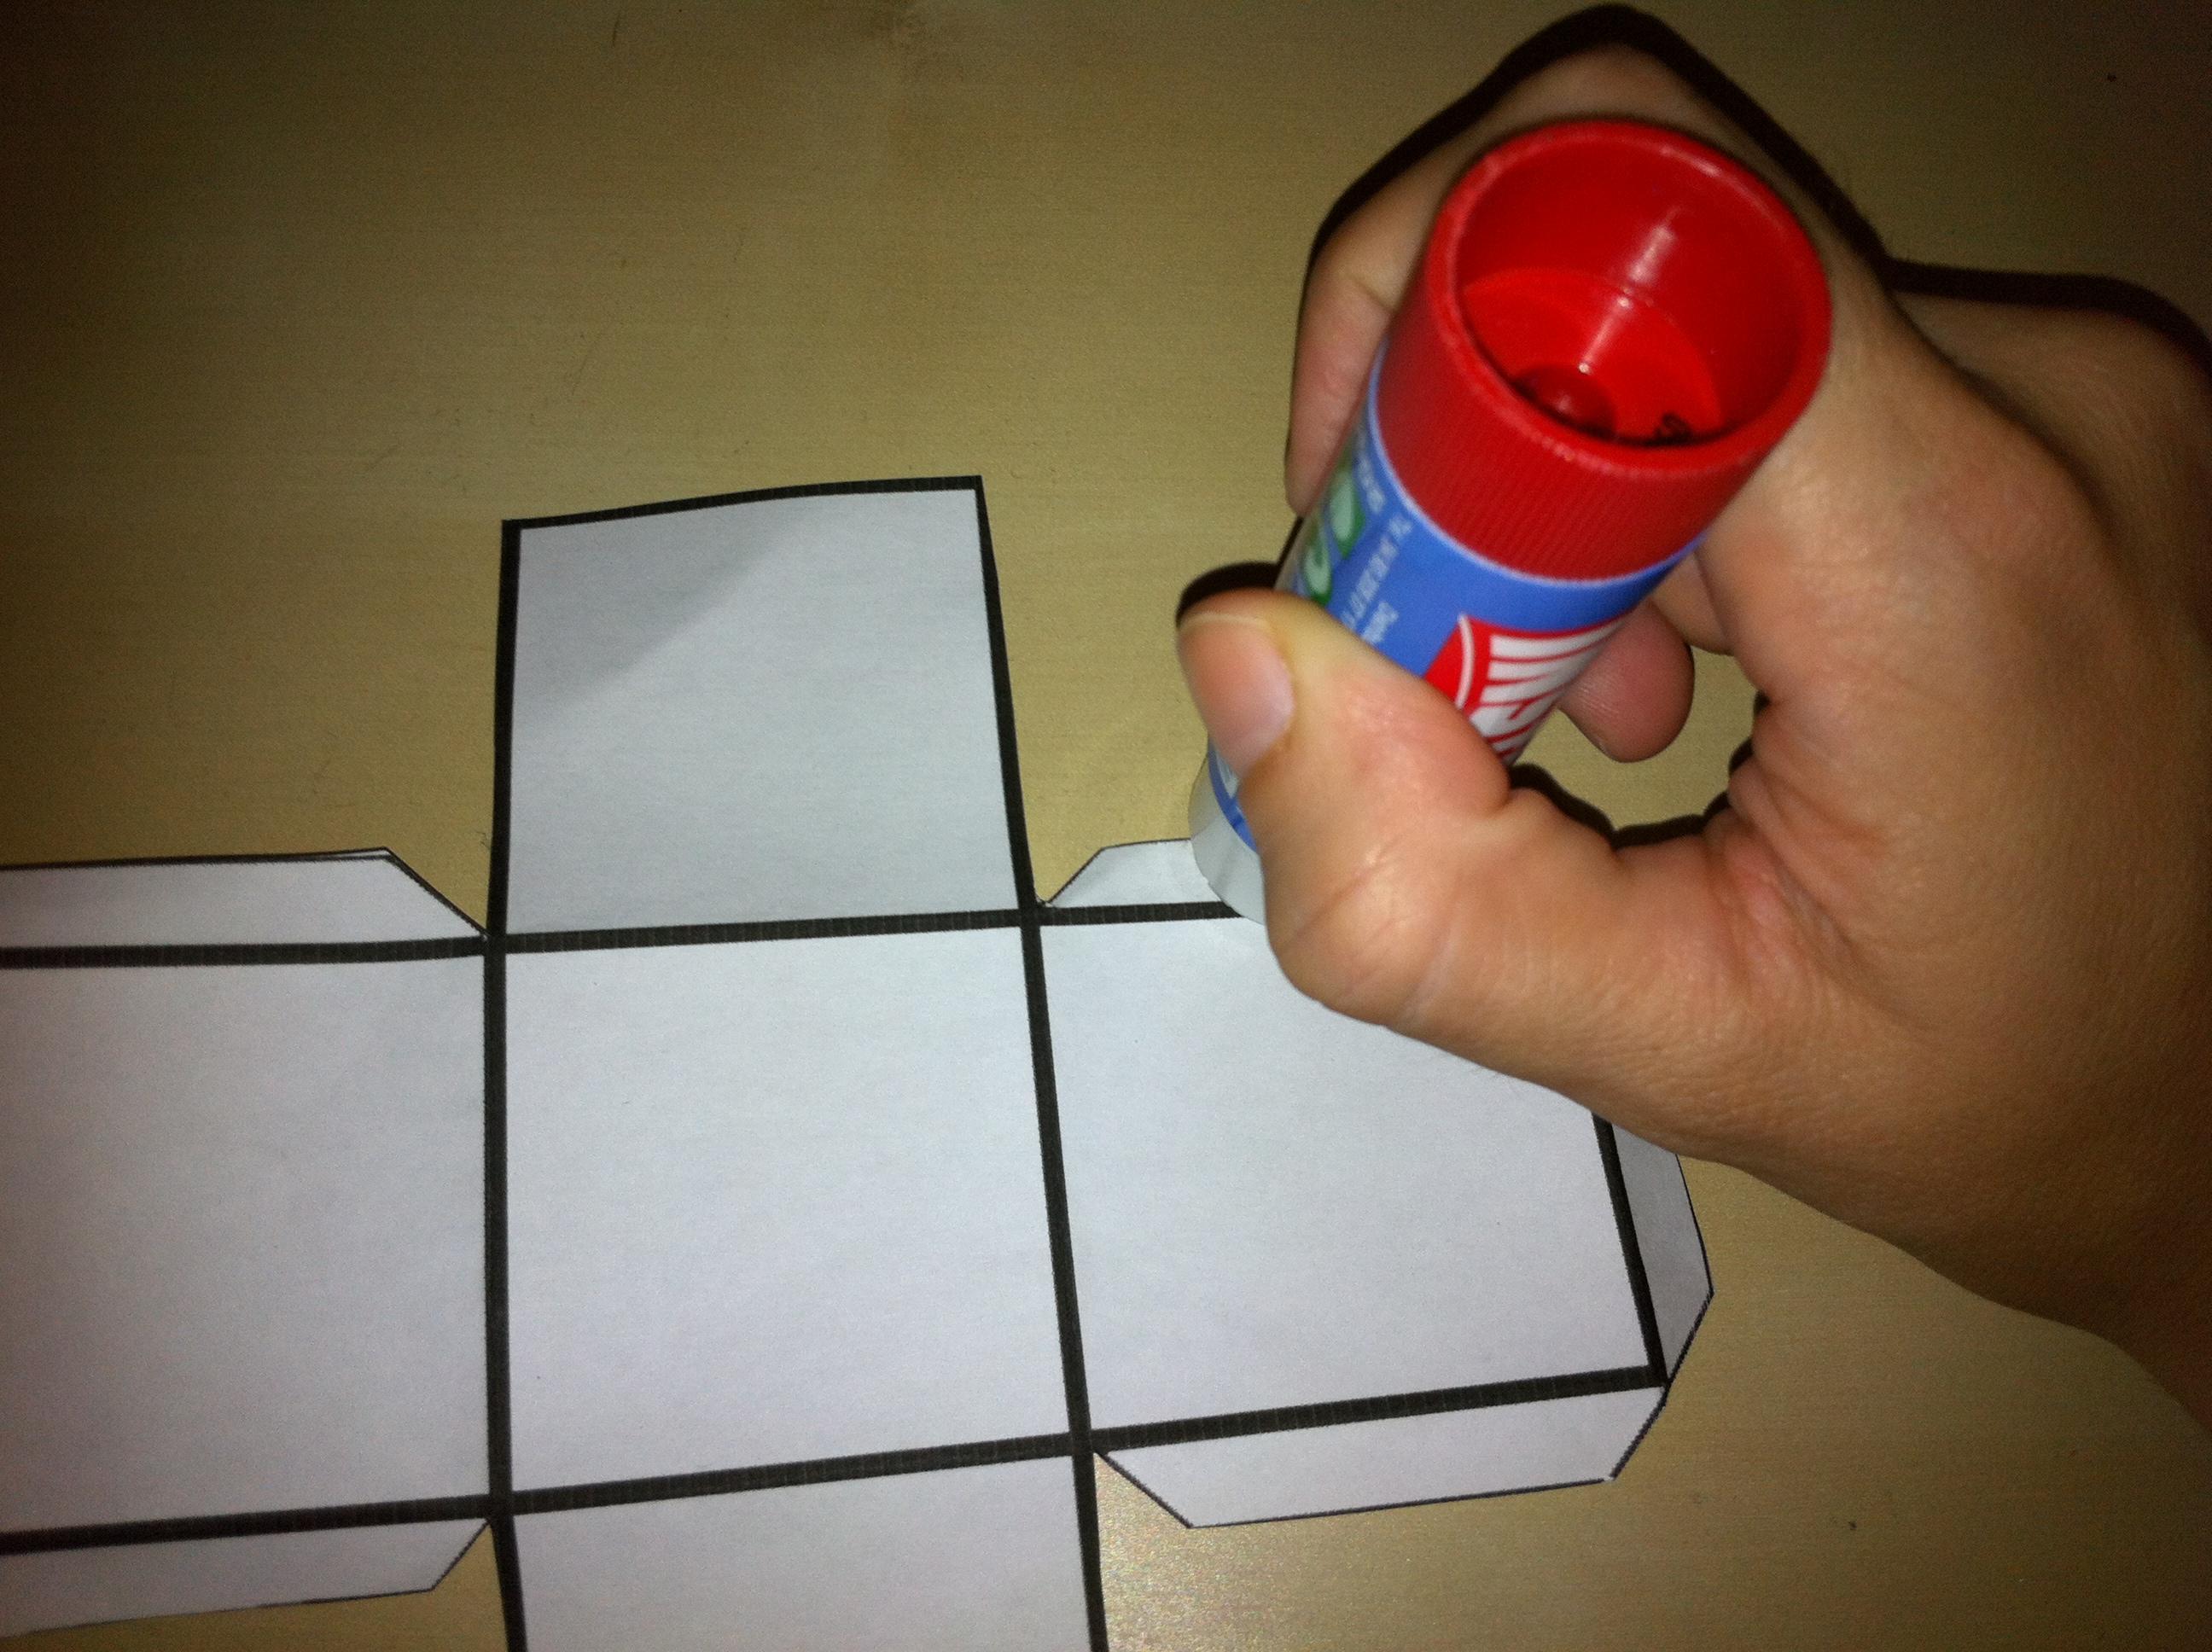
Put glue on one of the tabs and paste it into place. Press it with your fingers so that it is well attached. Do the same with the others. You will be able to use a solvent-free glue stick like the one below. This glue is safe to use for kids. It's important to apply the glue evenly to avoid any bulges or uneven surfaces. In this regard, using glue sparingly and precisely helps maintain the cube's shape.

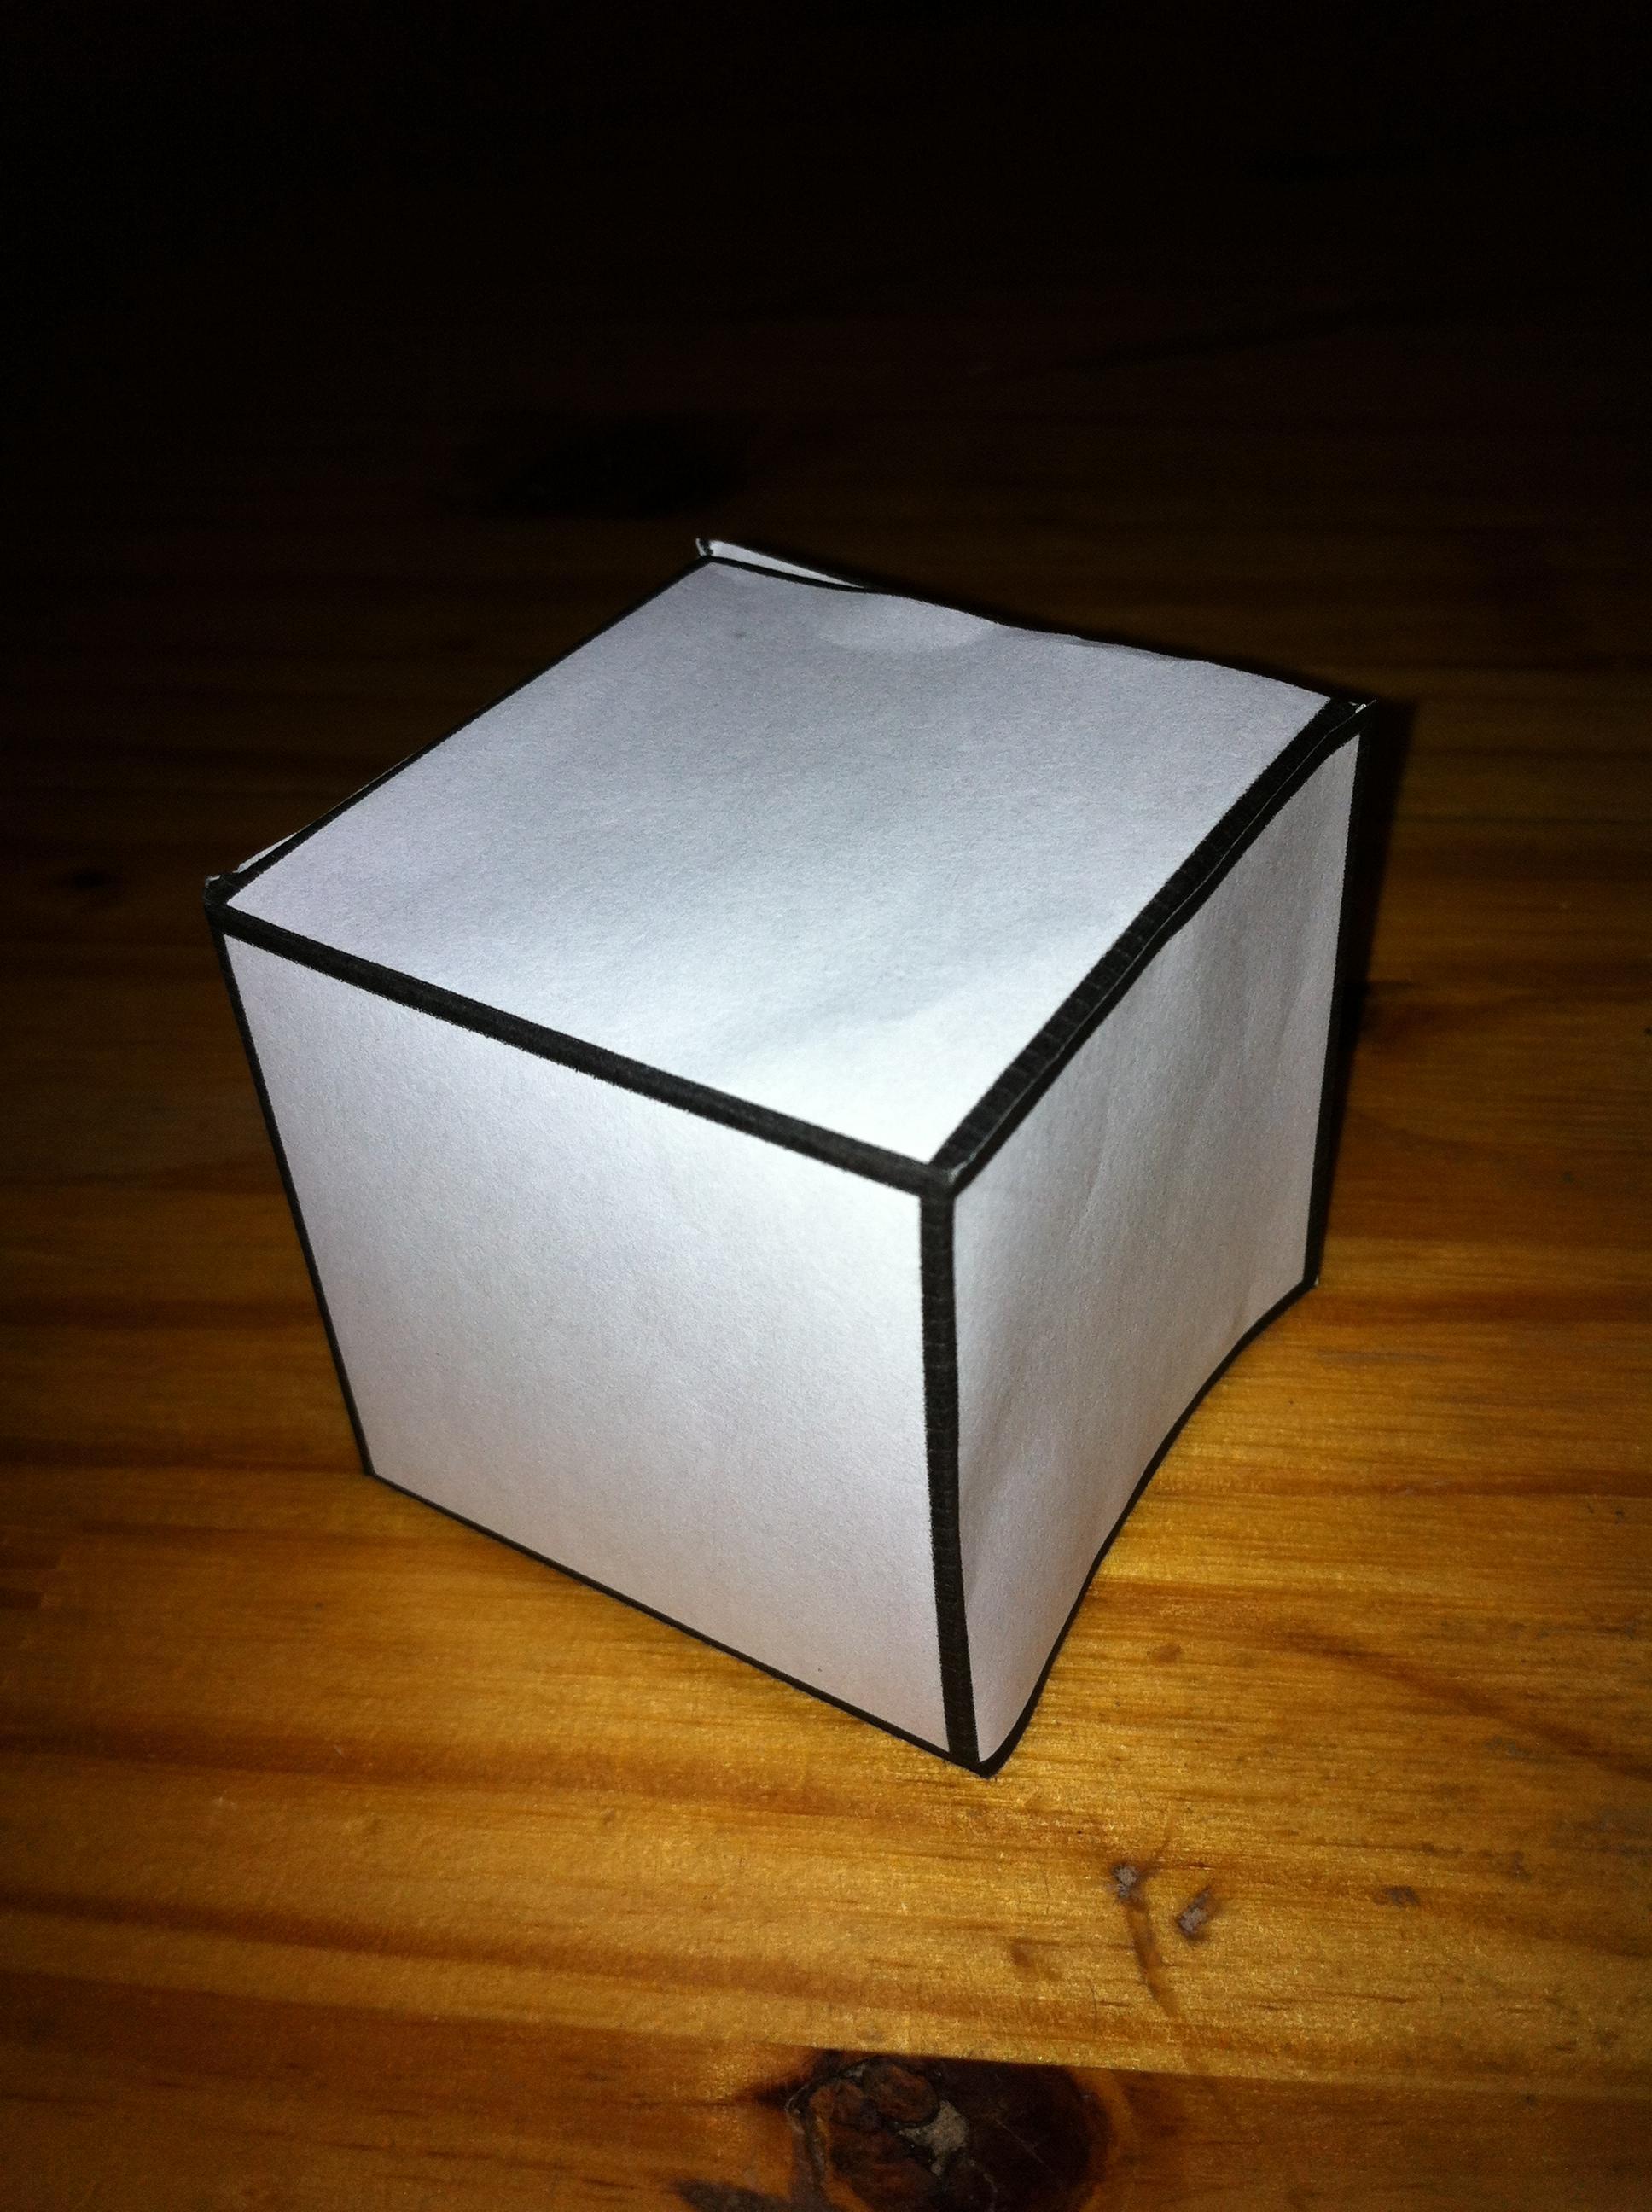
Then you have made your cube! You can color it in if you like. If you're doing this activity with children, they can color the cube before gluing it together in their favorite colors or patterns. Otherwise, take your chosen decorations (like ribbon or patterned sellotape) and cover your box as you wish. Experimenting with different materials can add a unique touch to your cube, making it more personalized.

With this simple tutorial, you can make many things that require this shape, like an original dice. If you need to change the measurements, it's as easy as learning how to calculate the volume of a cube. Have fun with it! Be creative! The cube's versatility allows for numerous creative applications, such as storage boxes or educational tools.
At oneHOWTO we can also show you how to make other 3D figures such as the following:
Expanding your skills to include these shapes can provide a broader spectrum of crafting possibilities.If you want to read similar articles to How to Make a Cube out of Cardboard, we recommend you visit our Art & handicraft category.
Tips
- If you are not a good drawer, copy the template image and paste it into a word document. Make it as big as you want and then print. This method ensures that your template is precise and reduces the chance of errors during the drawing process.
- You can make your cube with colored card. Choose the color you like! Using colored card can add vibrancy to your project and eliminate the need for additional coloring.
- We recommend that before you start putting on the glue, try to put it together to ensure it will fit. Once you are sure it will all fit together, start putting glue on the tabs and pasting them. Do this on all tabs. This pre-assembly step is crucial in preventing any mistakes that might be difficult to fix once glued.


