How to Make a Cone with Paper

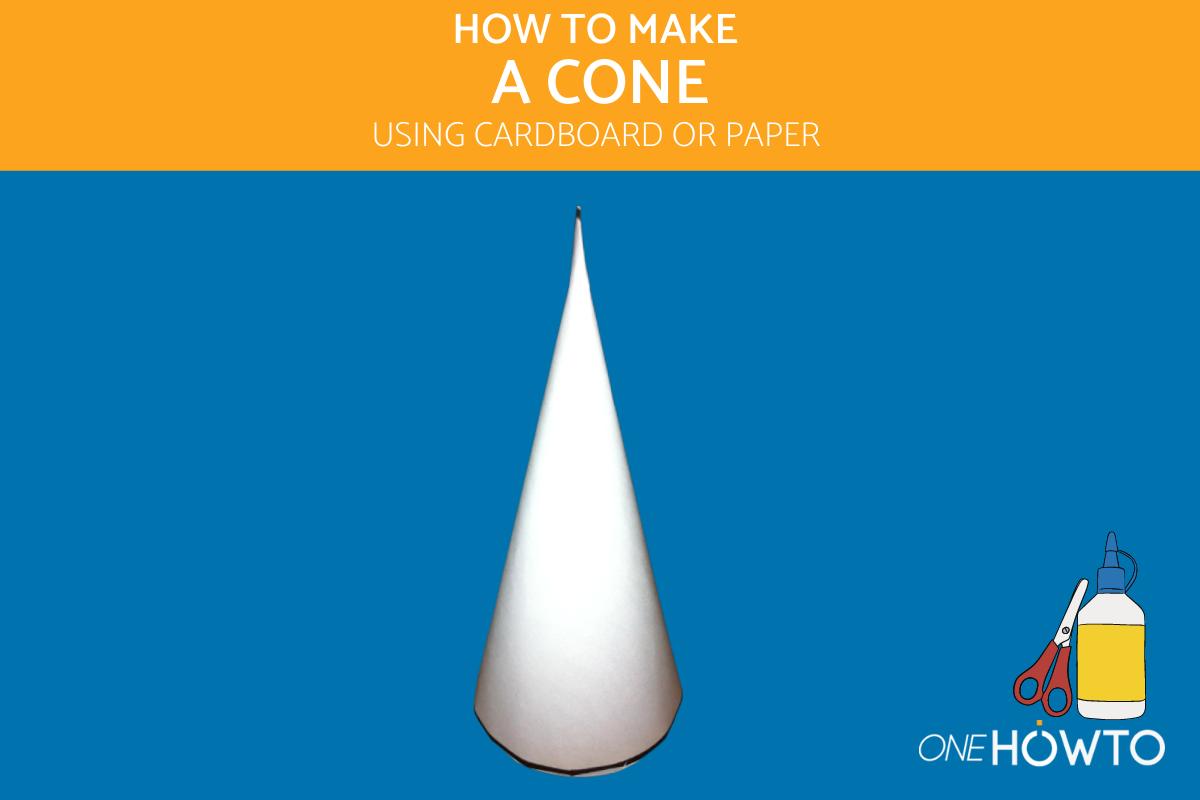
Looking for a versatile and fun craft project? Learning how to make a cone out of paper is a great place to start! Whether you want to use it as a container for candy, a decorative tower top, or even as a tool to explain geometry concepts, this simple and engaging activity is sure to provide hours of entertainment.
In this article from oneHOWTO, we'll guide you through the simple steps of making a cone out of paper and give you some tips and tricks along the way. Our step-by-step tutorial will walk you through the process of crafting this versatile shape.
You'll need:
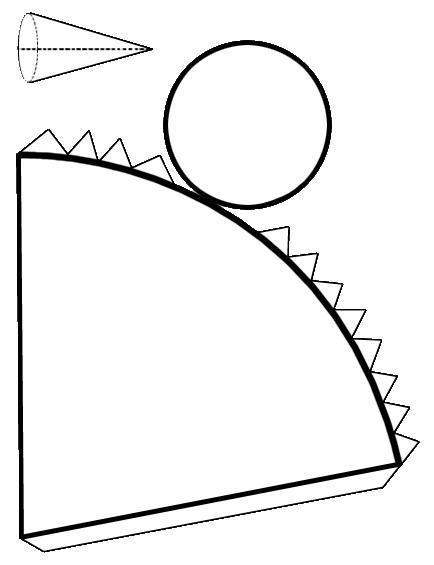
- Template to print out (or, if not possible, a pencil, eraser, and ruler to draw with)
- Scissors
- PVA Glue or bar glue
- Paper, cardboard or pasteboard
Steps to follow:
To begin, transfer the cone template onto a piece of paper, cardboard, or pasteboard. Alternatively, you can print it out. The beauty of this project is that you can adjust the size to suit your needs. Consider using recycled materials for an eco-friendly approach to crafting.

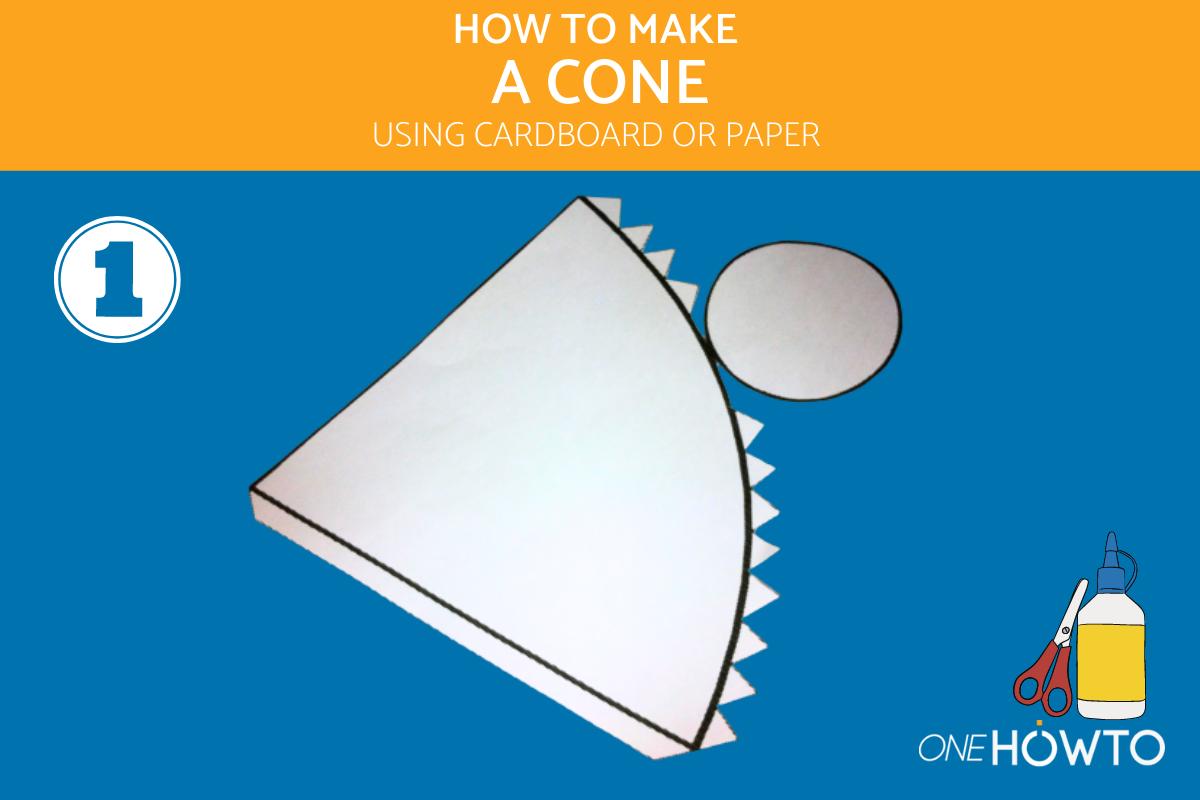
Cut out the template with a pair of scissors. Make sure to carefully follow the lines and folds so that the pieces can be easily glued together later on. For more precise cuts, you might consider using a craft knife, especially for thicker materials.

Before you glue the cone together, it is important to fold all the lines of the template, making sure that the small spines are facing up. This will make the assembly go much more smoothly.
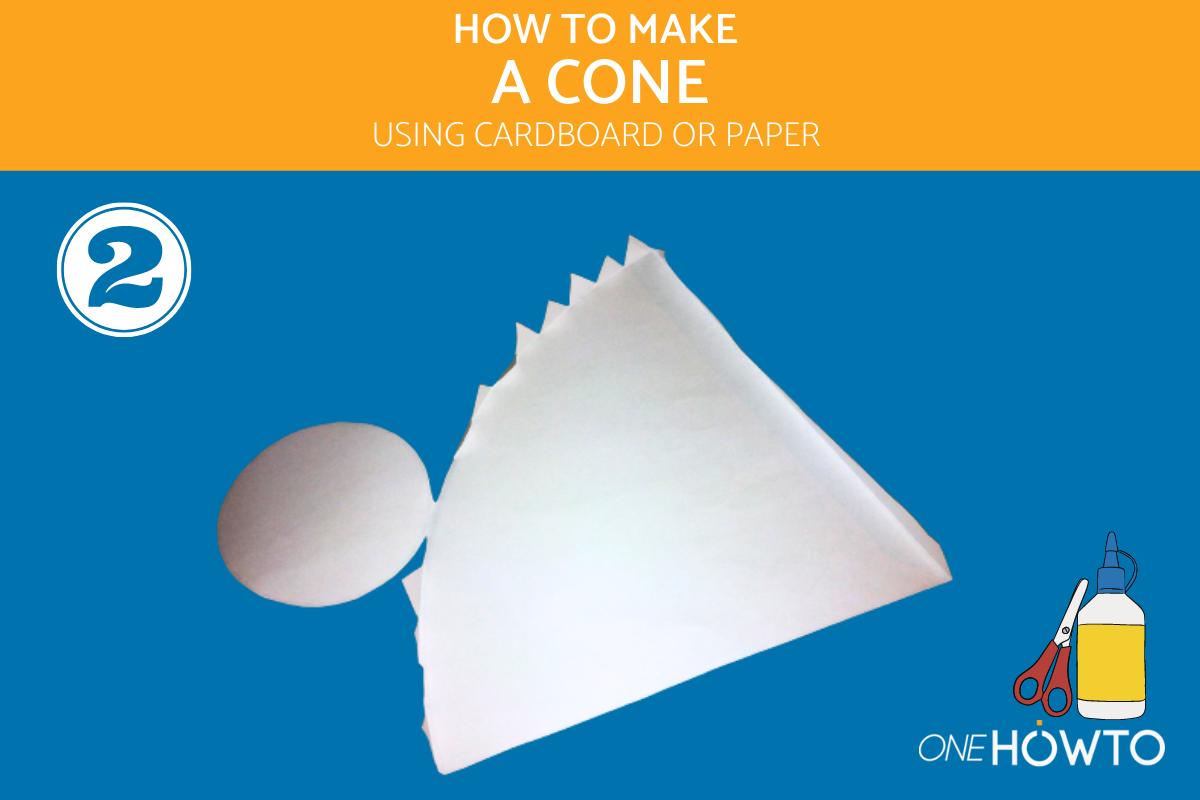
It's also a good idea to assemble the cone without glue at first, to make sure you have a clear idea of where each flap should go. This way, you can adjust the folds as needed to ensure a perfect fit before applying adhesive. Additionally, test fitting can help avoid any misalignment issues.

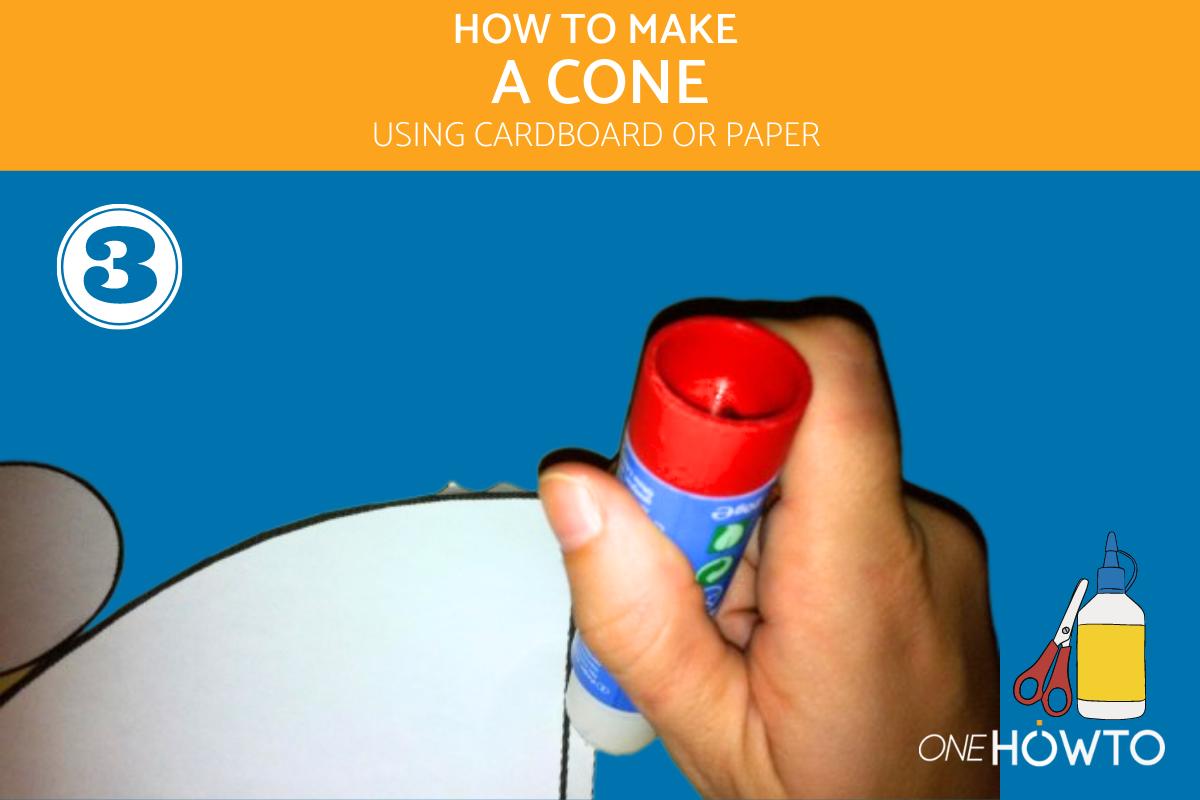
To form the cone, apply glue along the longest flat edge and bring the two ends together, creating a pointed cone shape. It's important to ensure that the edges are aligned properly and that the glue is evenly spread to create a strong and stable bond. Consider using a glue stick for a cleaner application and to avoid excess adhesive spillage.

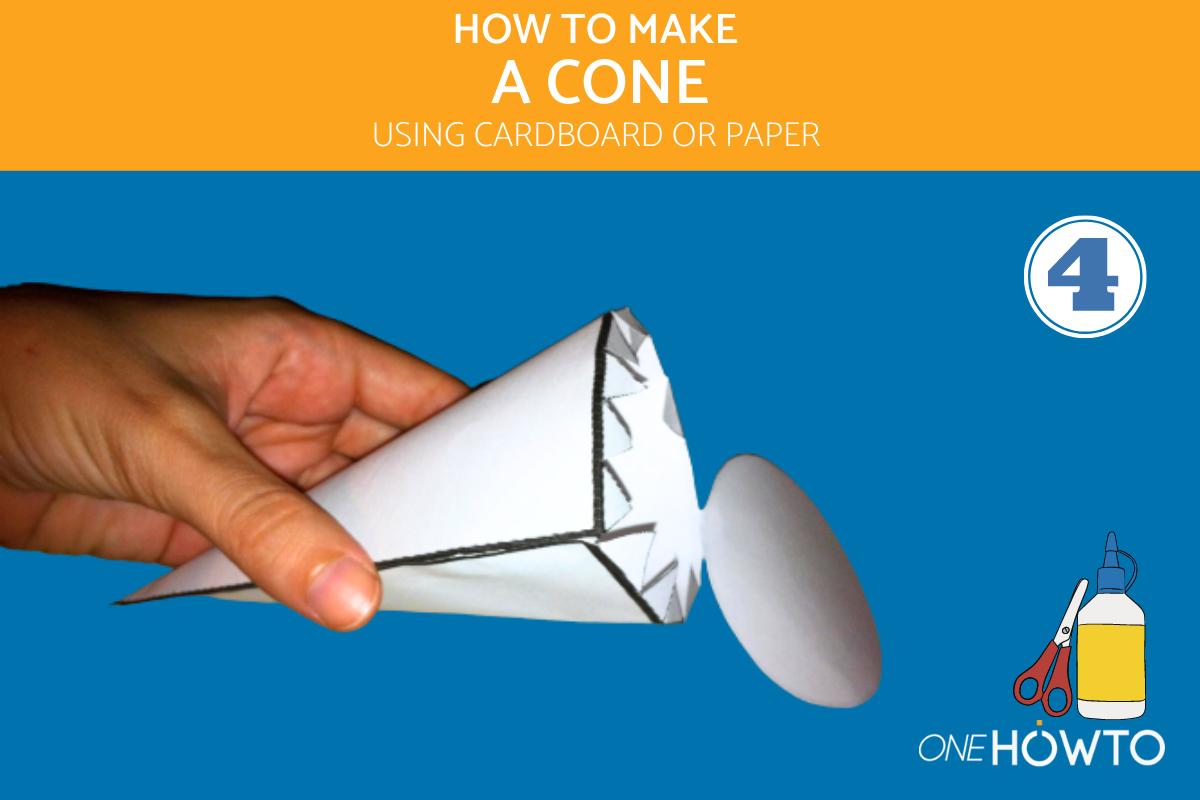
With the cone shape successfully formed, it's now time to attach the base. Apply glue to the small tabs, or triangles, located at the bottom of the cone, and carefully press them down onto the surface where you wish to place the cone.
For an easier and more secure attachment, twist the cone slightly to allow the weight to be distributed evenly on each tab as you press them down. Consider using a small amount of pressure for a few seconds to ensure a firm hold.

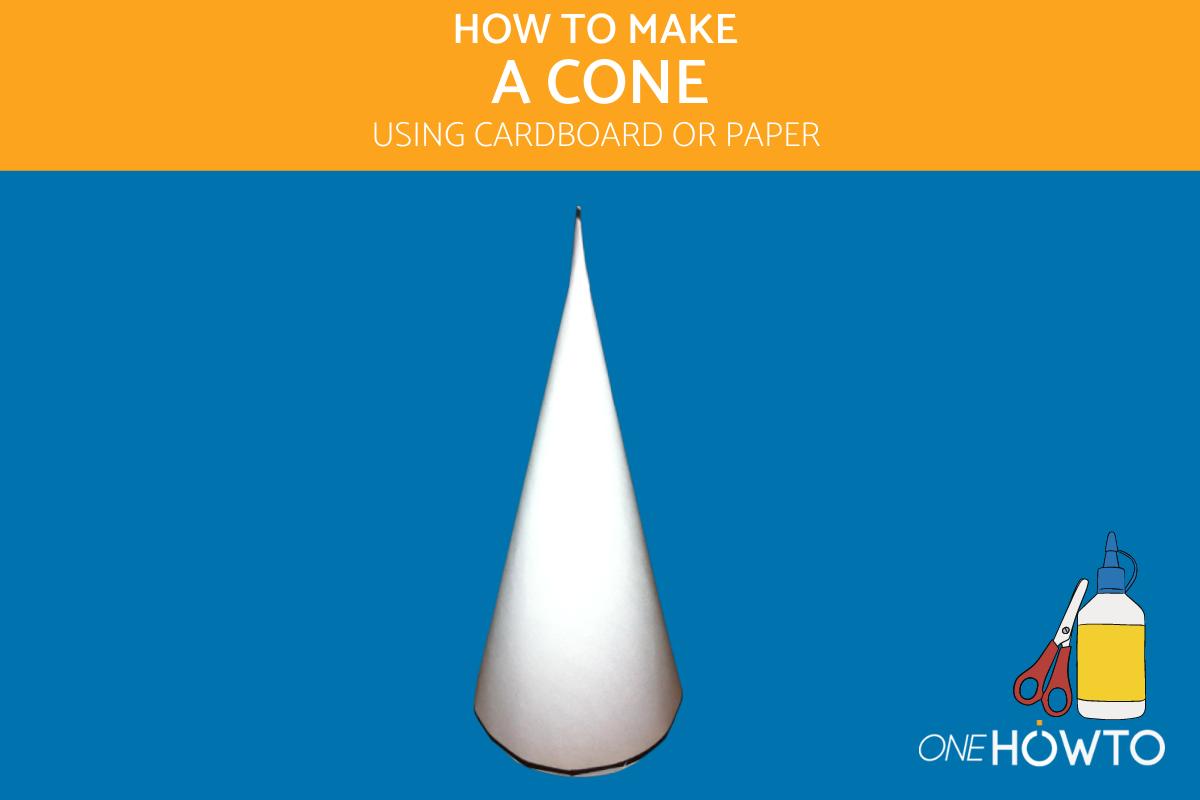
Once the glue has dried completely, your paper cone will be sturdy and ready for use! You might also decorate the cone with paint or stickers to give it a personal touch, depending on its intended use.
You don't want to stop at just making a paper cone? Why not expand your skills with other cardboard creations like a cube or a pyramid? These shapes can be used in a variety of educational and decorative projects.
If you want to read similar articles to How to Make a Cone with Paper, we recommend you visit our Art & handicraft category.
Tips
- If you're not able to draw it out, copy the template image and paste it into a Word document. Make it as big as you want and print it out. This method ensures accuracy and saves time.
- You can make your cone using coloured card. Choose a colour you like! Bright colors can make the cone more visually appealing and suitable for festive occasions.
- Before you start putting the glue on, try it in position without the glue first to see if it fits. Once you're sure about where you're going to stick it, put glue on the tab and stick it together. Do the same on the other tabs. This pre-fitting step is crucial to ensure everything aligns perfectly.