How to Decorate Shoe Boxes with Tissue Paper


There are so many crafts that can be done using only recycled materials, objects that you can find around the house, or very cheap products - you don't need much to start a DIY project!
In this OneHowTo article we'll show you how to decorate shoe boxes with tissue paper, transforming plain practical boxes into beautifully decorated objects. It will be cheap, practical, and it will look great, plus it's a wonderful activity for children as well.
You'll need:
- Shoe boxes
- Glue
- Water
- Glitter, fake jewels, ribbons or other embellishments
- Tissue paper, gift wrapping paper
- Scissors
Steps to follow:
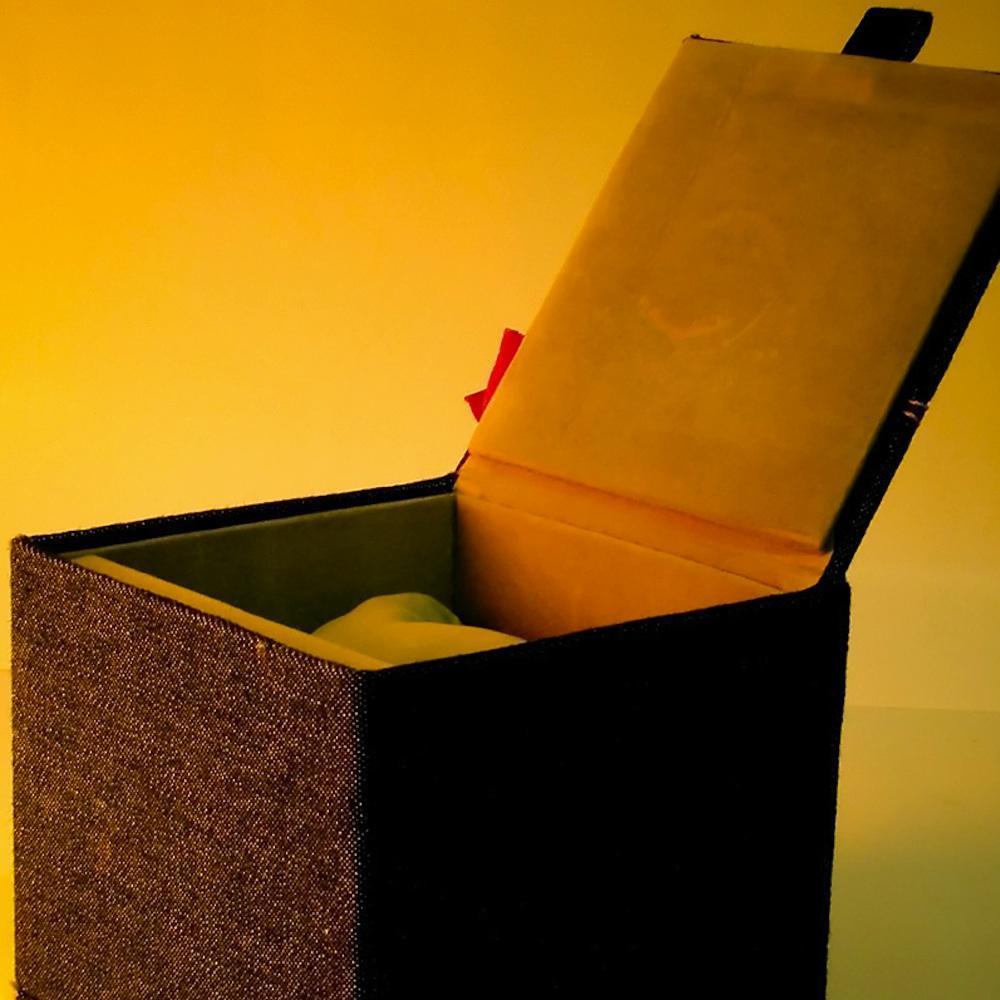
First of all, get a shoe box or a similar container with a lid for each participant - you don't want the children fighting over it! Make sure the box is clean and free from any loose debris or stickers, as this will ensure a smooth surface for decorating.

Prepare a glue mixture by combining one part white craft glue - the most common kind for lightweight objects - with two parts water in a glass or bowl. Mix well. This mixture is actually very useful for all kinds of crafts, so it's a good idea to master it! It's important to ensure the mixture is not too thick, as it needs to be easily spreadable.
Prepare paper ribbons and patches by ripping and tearing multicolor tissue paper. Stick to a single shade or different neutral colors for an elegant, sophisticated design. Tell us about your ideas and designs in the comments section!
If you're working with children, they will love this part. You can use brown, red, and gold for a pirate treasure-looking box, greens and pinks for a fairy tale vibe, or vibrant, popping colors to decorate a children's room. For added texture, consider incorporating crepe paper or other textured materials.
Start to decorate the shoe boxes by using a paintbrush to paint a layer of glue mixture all over the box. Apply tissue paper on all their surfaces. Make sure to press the tissue paper down gently but firmly, smoothing out any bubbles or wrinkles for a clean finish.
Let it dry completely. This step is crucial as it ensures the tissue paper adheres properly to the box and sets the foundation for any additional decorations you might want to add later. Depending on the climate, drying times may vary, so it's best to leave it overnight to ensure it's fully set.
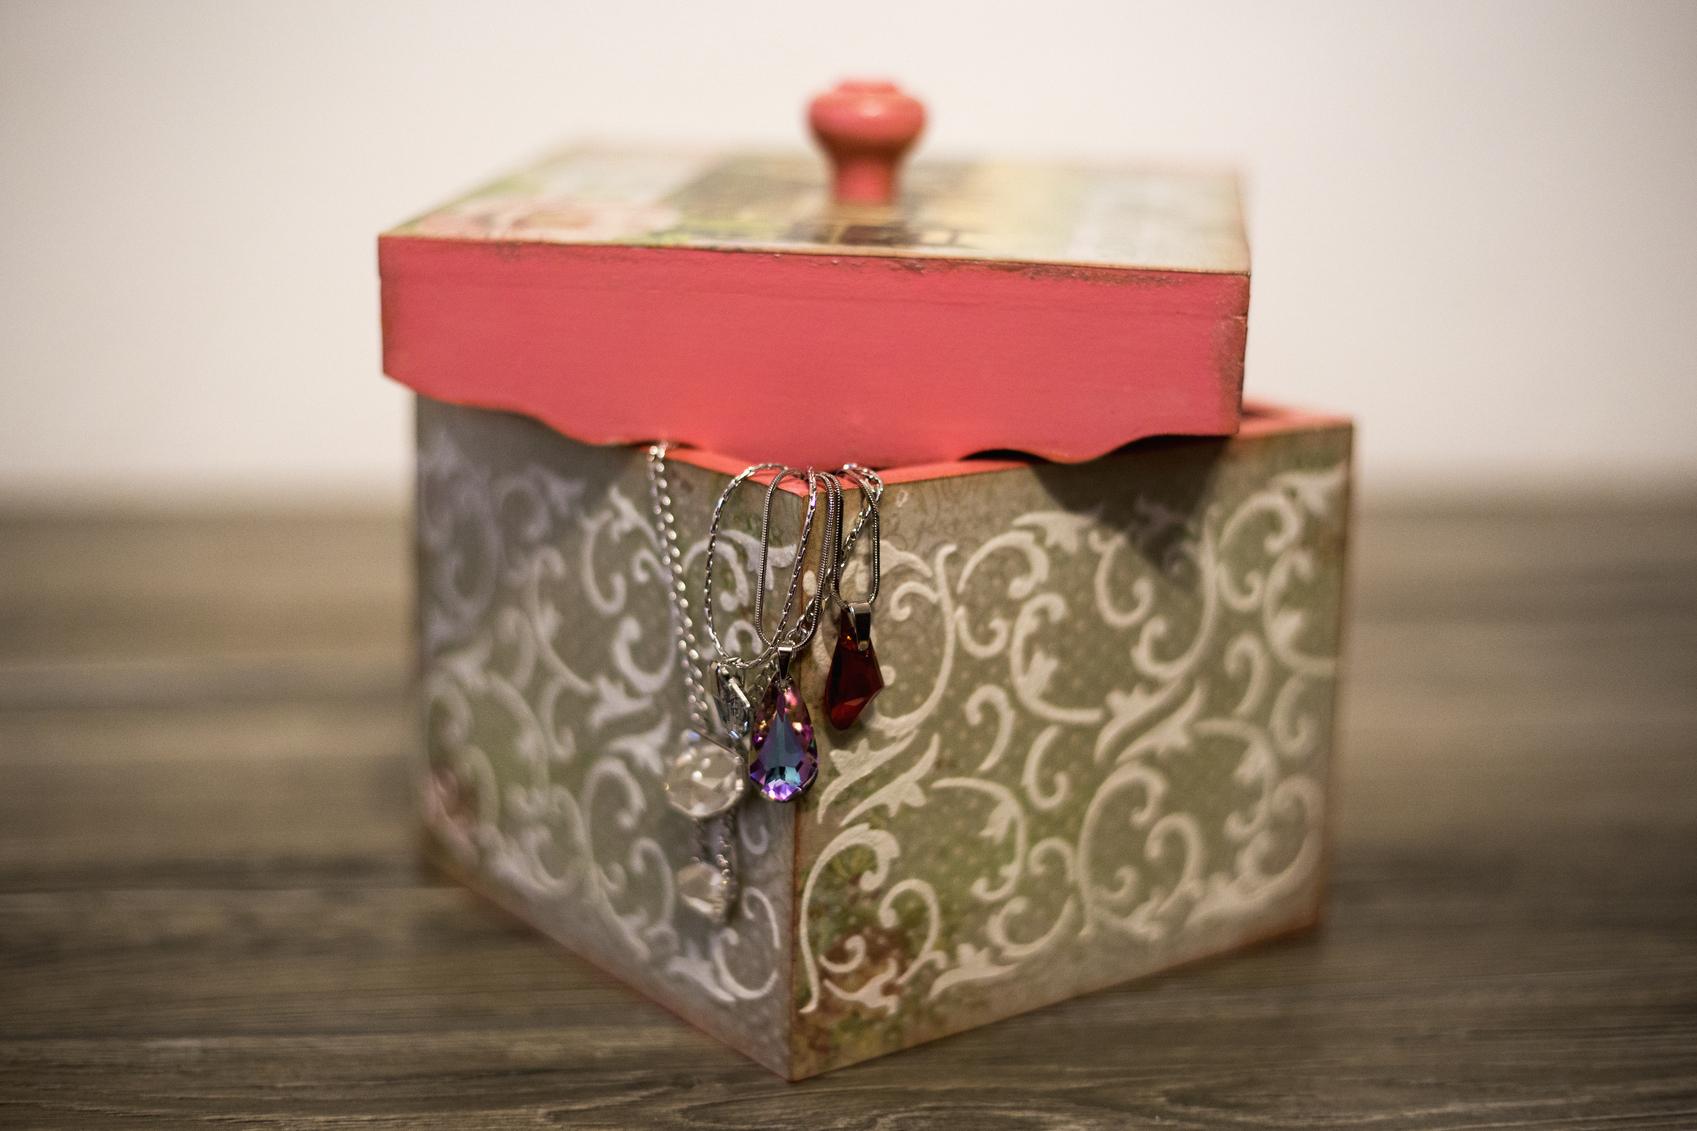
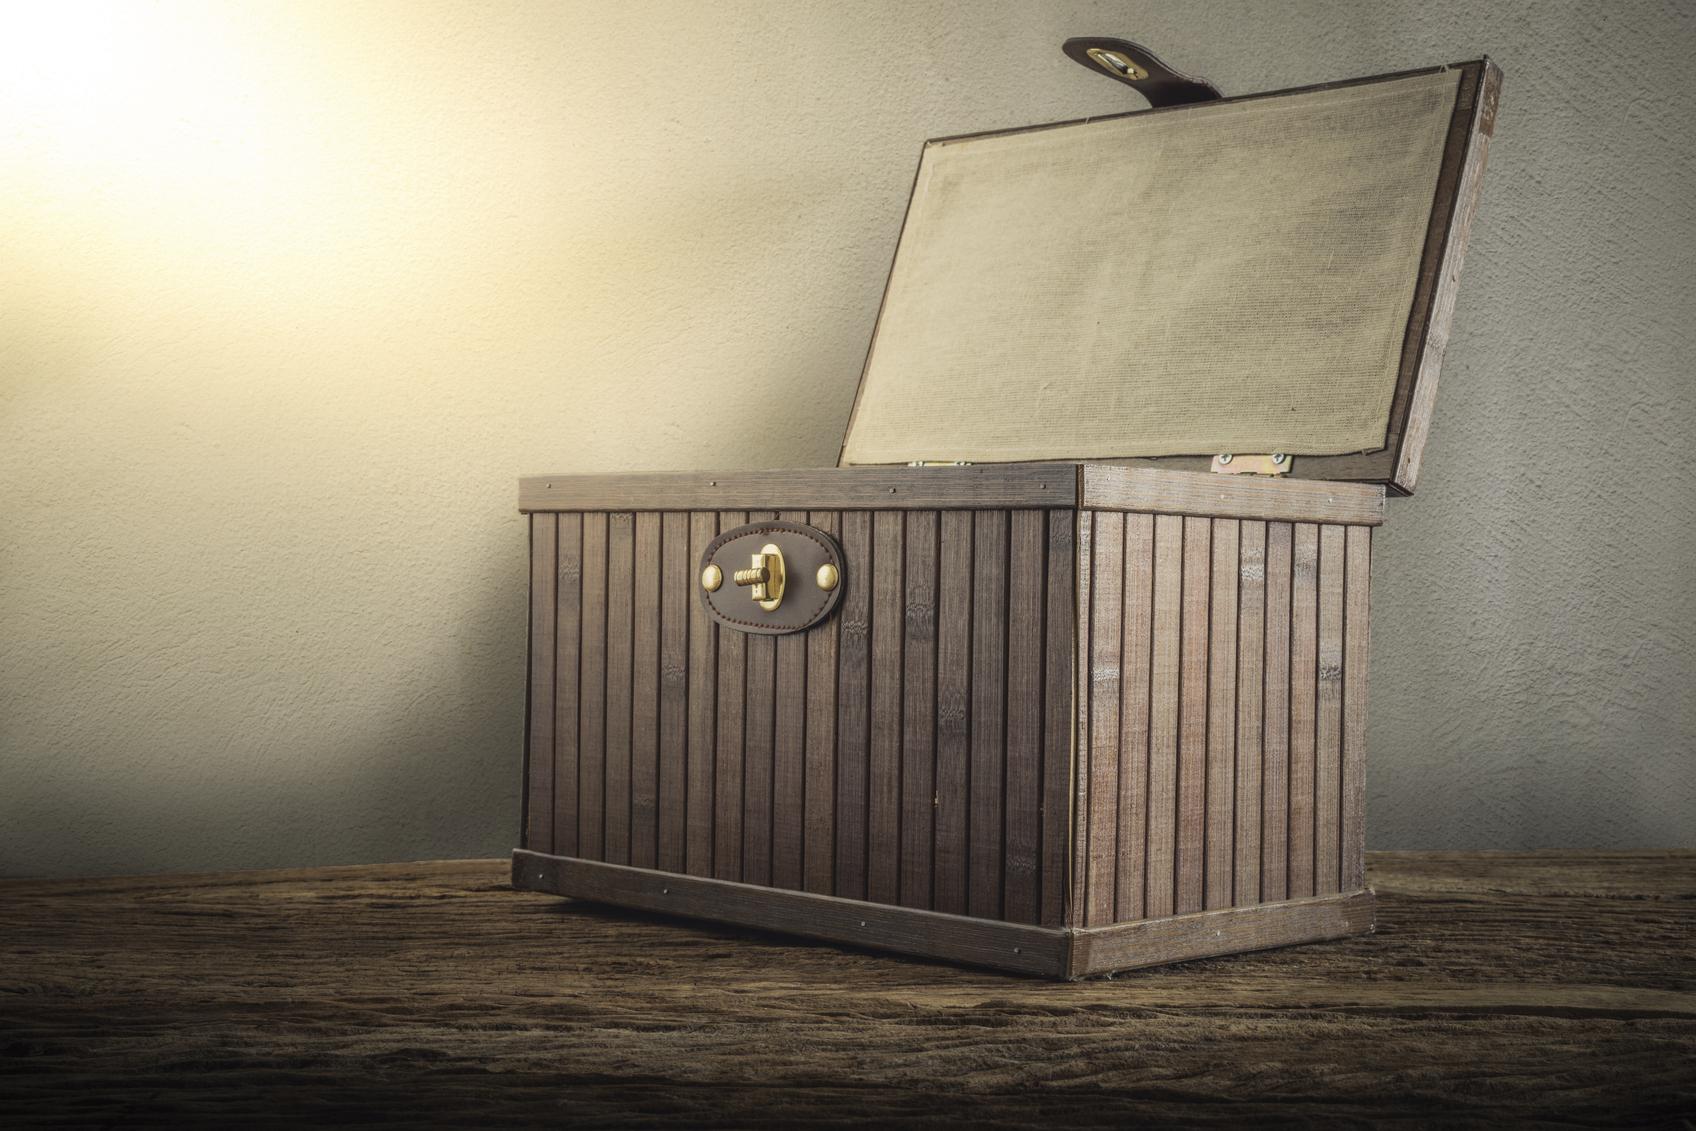
Have rhinestones, glitter, plastic jewels, and other decorations ready to glam up the box. Unleash your creativity. Decorate shoe boxes with the theme of your choice - is it a pirate's treasure chest? A witch's potion trunk? An art nouveau jewel box? - or be as abstract as you want. You could also incorporate natural elements like dried flowers or leaves for a rustic touch.

Once all elements are glued to the shoe box and dried, you'll have transformed it into a treasure chest that your children can play with, or into an elegant bejeweled box for your most precious goods. Consider lining the inside with felt or fabric for a more finished look, especially if you plan to use the box for storing delicate items.

This is an affordable and easy guide on how to decorate shoe boxes with tissue paper. If you want to really make it glam, you can use cloth instead of tissue paper, use gift wrapping paper for a more polished look, or paint it to imitate wood. Adding a coat of varnish can also give your box a glossy, professional finish.
Take a look at our cheap DIY board on Pinterest for more ideas using waste material!
If you want to read similar articles to How to Decorate Shoe Boxes with Tissue Paper, we recommend you visit our Art & handicraft category.


