How to Make Your Own Zine

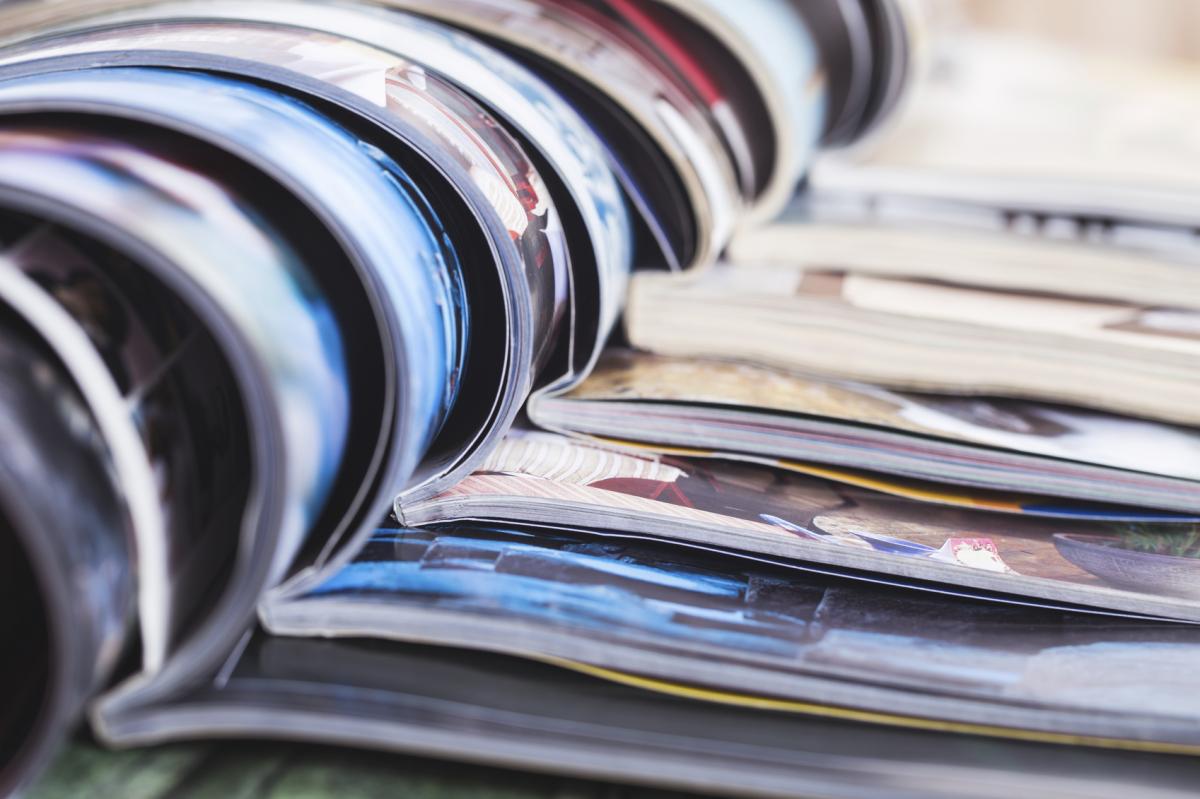
Have you ever thought about making your own zine? Zines are self-published magazines about any topic you can come up with. Everyone can start a blog or website, but there is something about print media that makes grunge-y photocopied zines very special.
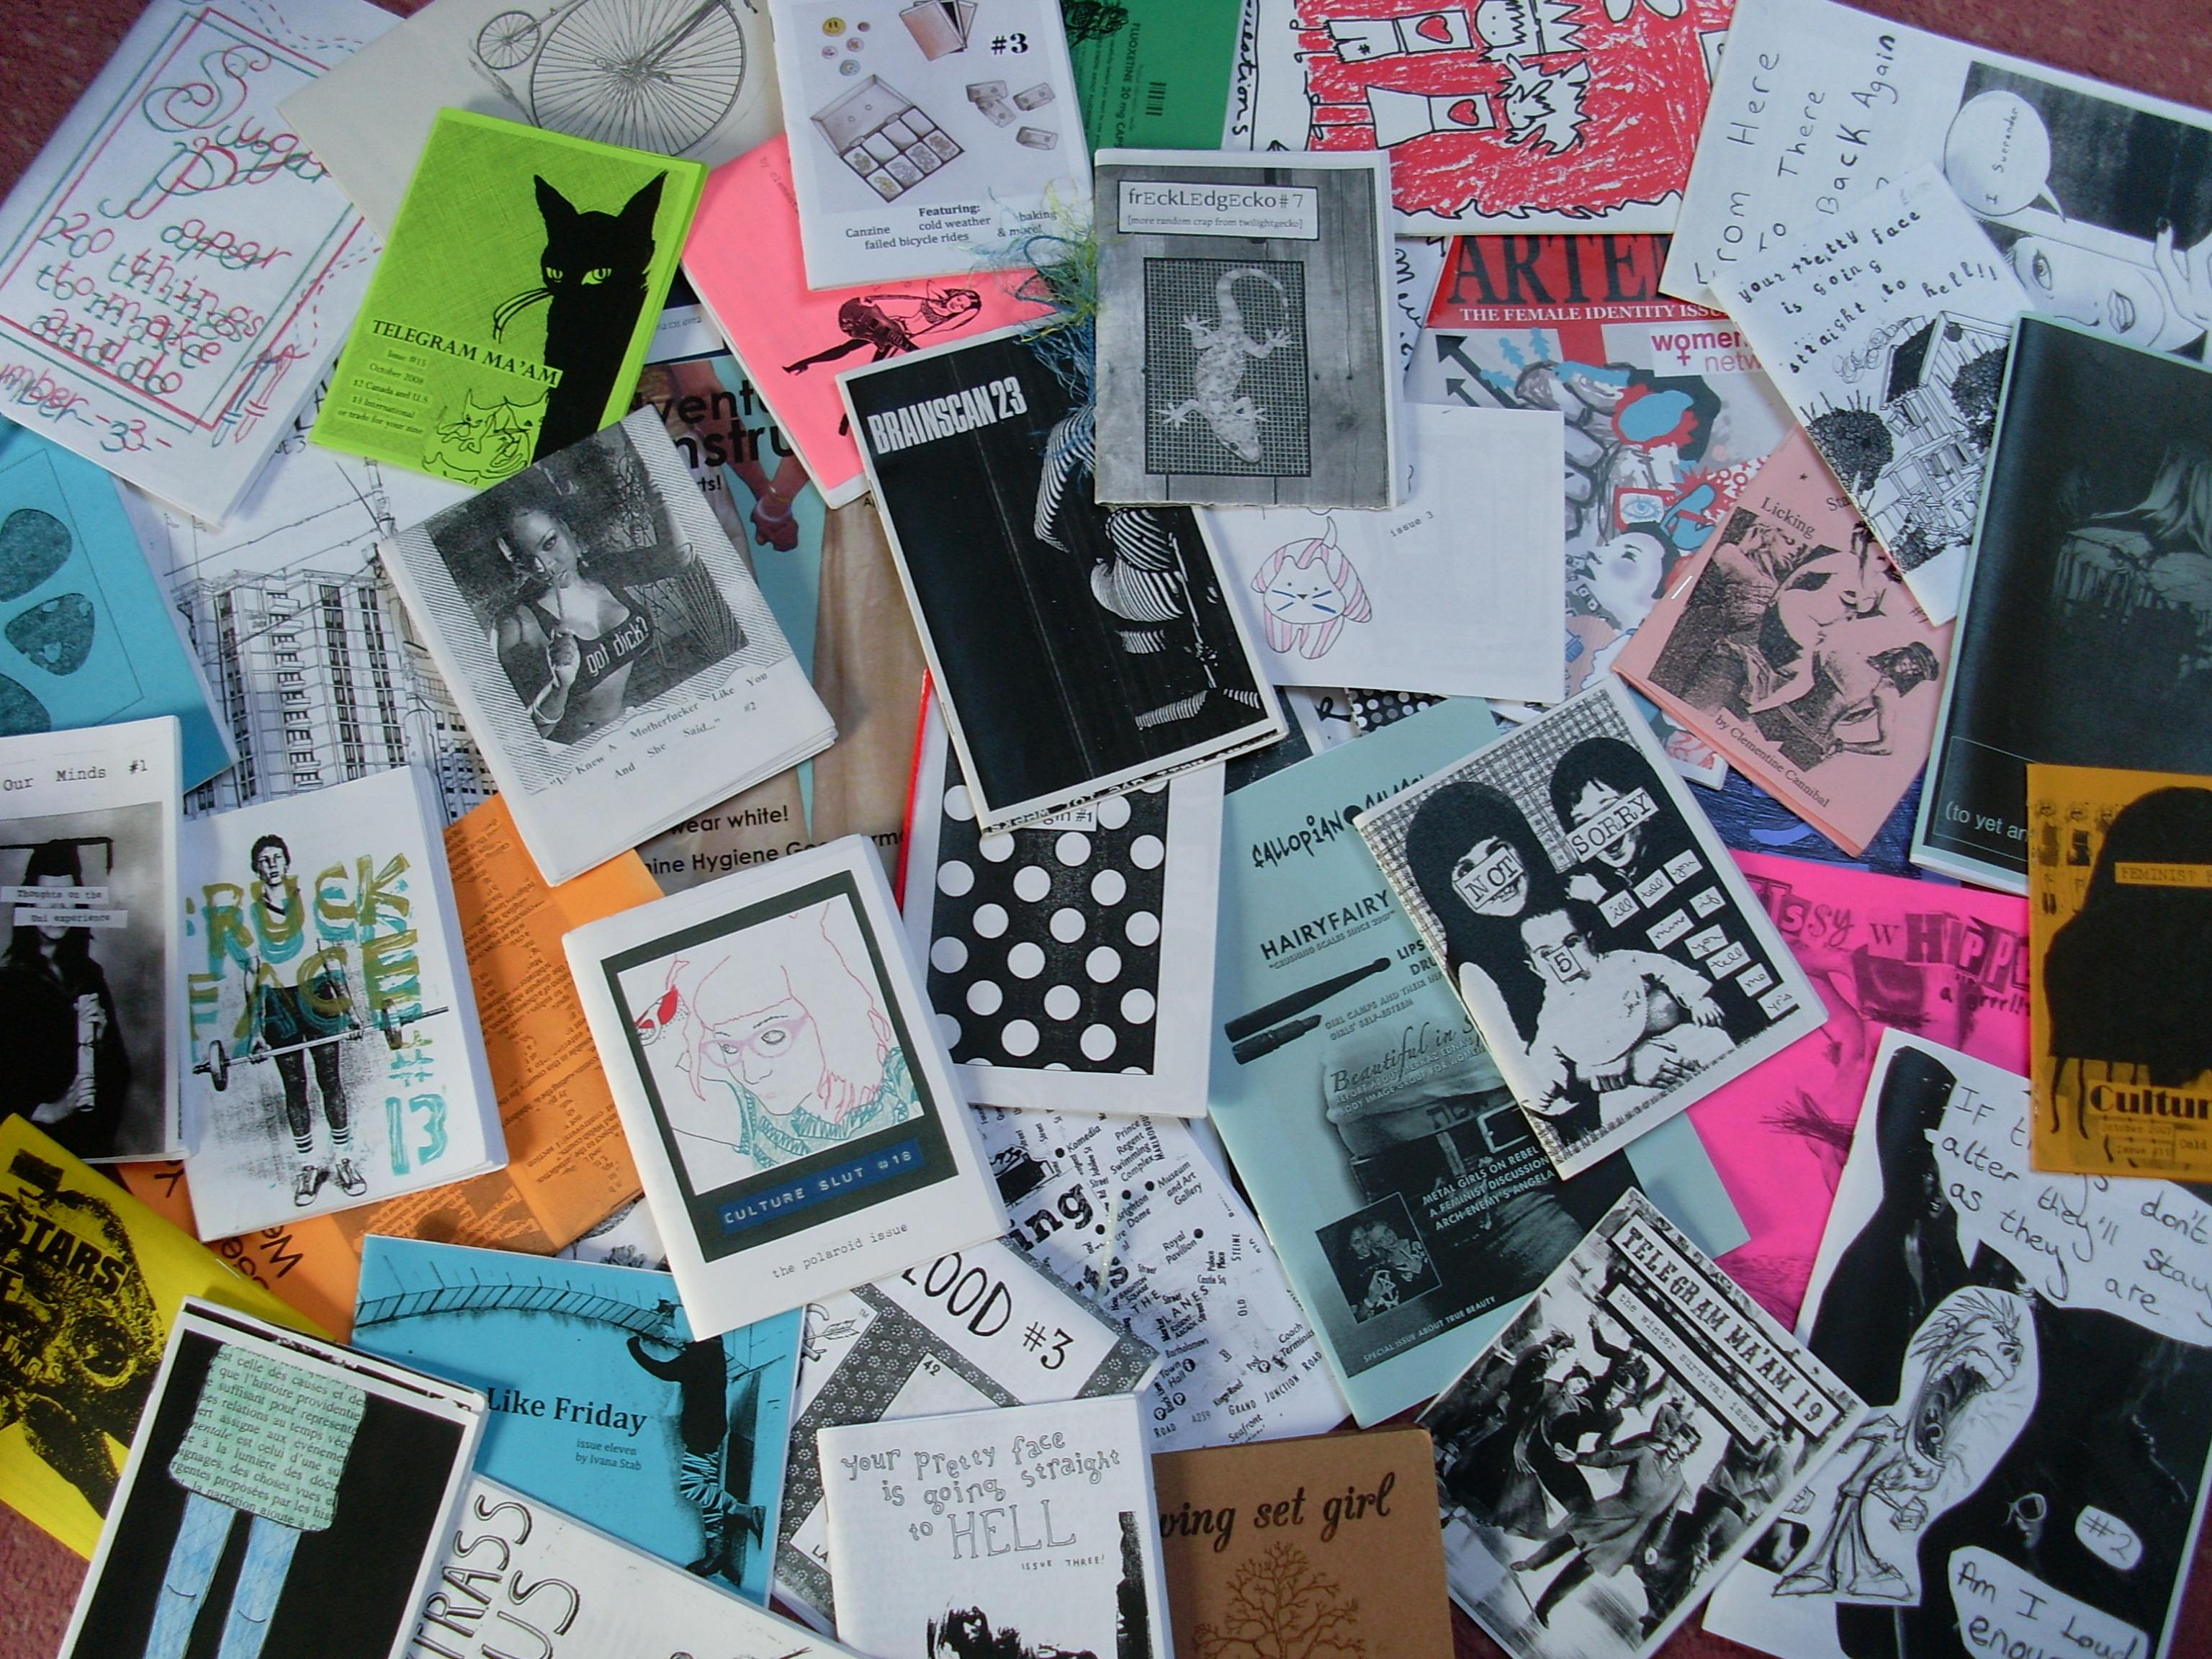
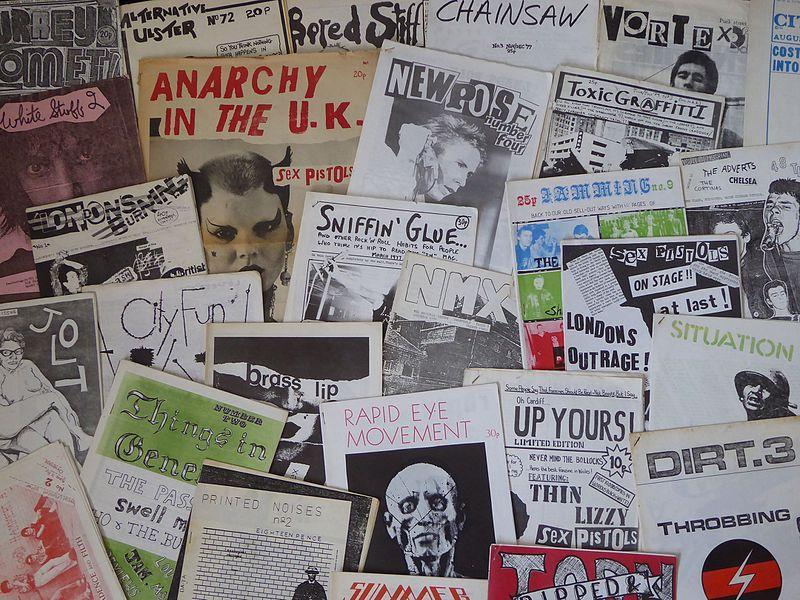
Fanzines or zines have been going on for years, as self-published pamphlets are as old as print. Science-fiction fanzines arrived in the early 20th century, but most people are more familiar with the hand-crafted, low-budget DIY aesthetic of the punk and riot grrrl zines of the seventies and nineties.
Stay with us at OneHowTo and learn how to make your own zine; express your ideas, experiment with content, craft and format and create your own art. Read on!
Steps to follow:
Starting your own zine: The basics
Before starting to make your zine, you need to consider some aspects that will shape your work:
- What is the concept of your zine? Most zines have a theme, from catering to very niche interests - conspiracy theories of czarist Russia, for instance - to more general concepts, like self-expression. It's easier to come up with content for your zine if you have a theme in mind. Additionally, having a central theme helps in targeting a specific audience, ensuring your content resonates with them.
- What is the goal of your zine? Many zines are political and want to reach as many people as possible. Others want to reach a specific audience with shared interests. Some artists make zines to publicize their work, like a portfolio. Other people simply make zines for themselves or to give as presents. Knowing your goal will shape and define your approach. For instance, if you're aiming for activism, your content might be more provocative and engaging.
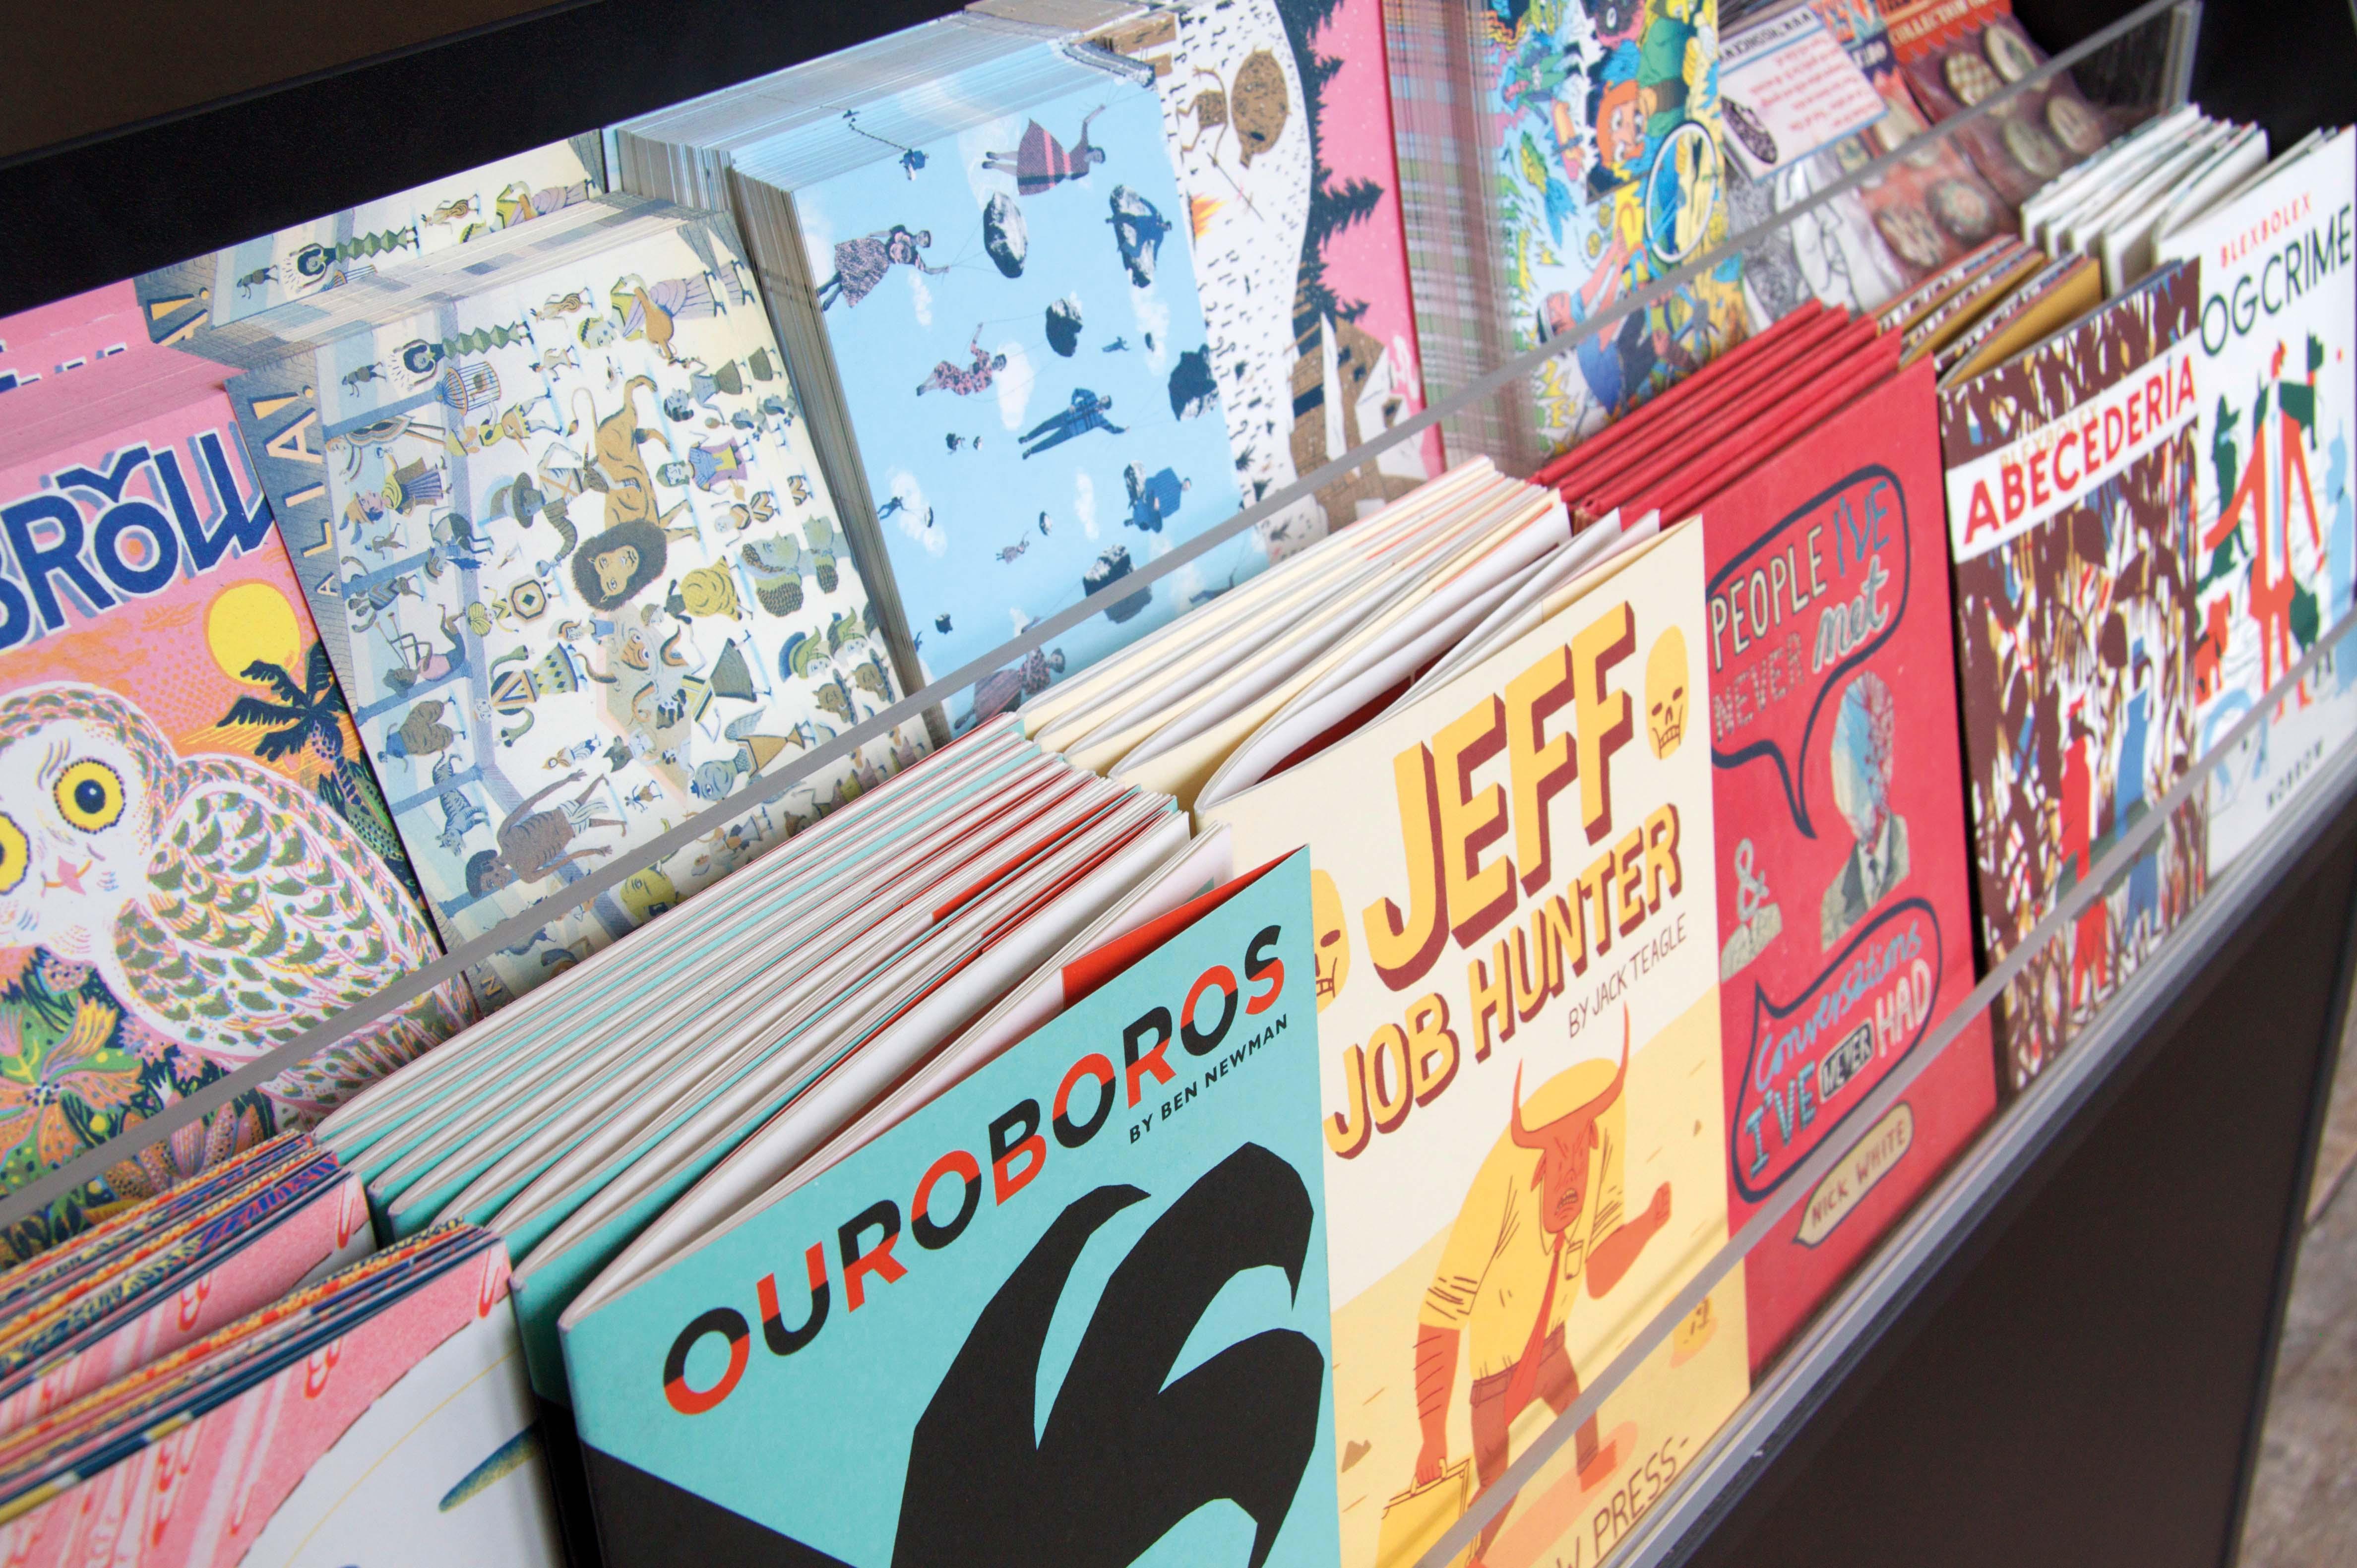
- Decide on the aesthetics of your zine. If your zine has a long run, the art style will probably evolve and change, but it's good to find an aesthetics that matches your theme and makes your zine recognizable. You can break patterns and design conventions radically, or you can go for a polished, pro-magazine look. Experimenting with different art styles can also help in maintaining readers' interest over time.
- What kind of media will you include in your zine? Most zines are made with collage techniques, cutting and pasting from different media. You can include pictures from magazines, your own photography, illustration, comics, poetry, essays, doodles, cut-outs, etc. If you're pasting someone else's work without altering it, you should ask them first and always give credit. Incorporating diverse media can enrich the reading experience and make your zine more dynamic.
- What is your budget? As boring as it sounds, when you start your own zine you need to think about money as you would when starting any other project. Your budget will shape the format, the look and the reach of the zine. Considerations like the quality of paper, number of copies, and printing methods directly affect costs and should align with your financial plans.
- Do you need contributors? If you want to make a zine to express yourself, probably not. However, if you want a literary or political zine you might want to find artists, writers, or editors to fill in your weak spots. Collaborating with others can provide fresh perspectives and diversify the content, potentially attracting a wider audience.
Once you've made up your mind about what your first zine will look like, you need to gather the materials. The very basic tools to make your own fanzine are:
- Paper: You can make a zine with a single 8.5x11 sheet.
- Glue
- Scissors or X-ACTO knife
- Pencil, eraser, and varied pens
- Access to a photocopier
- Content

How to design a zine's format:
Zines do not have to look like conventional magazines, which gives you more freedom to experiment. When you're planning your zine, you can play with the size of the paper, the layouts of the pages, and even the format: Why not try different fold-outs? You might consider integrating pop-up elements or interactive features that engage readers in a unique way.
It is still recommendable to give a sense of order - or at least some structural coherence - to your zine. No matter the theme or purpose of your fanzine, readers will appreciate a narrative. Before starting to add content wildly, consider arranging the pages into sections. This will help guide readers through your content logically and cohesively.
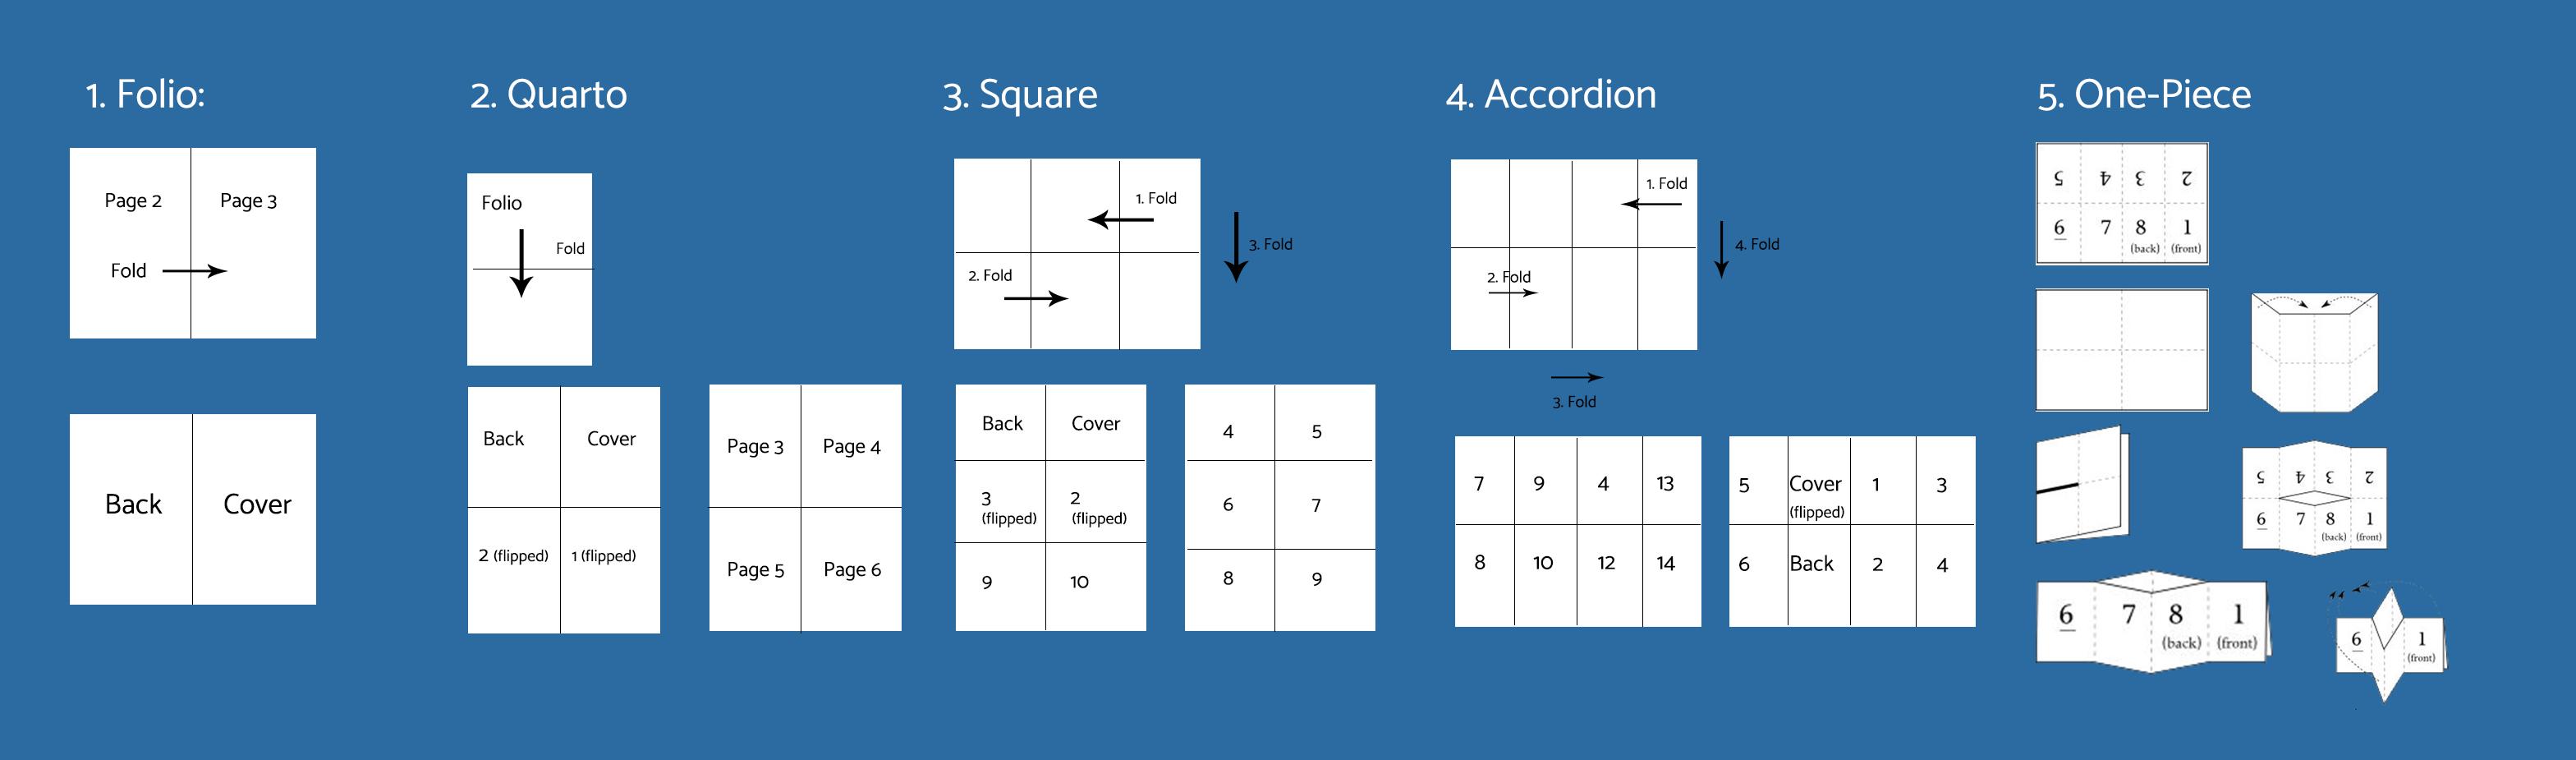
Some popular formats for zines include:
- Folio: A sheet of paper folded in half. This only gives you four pages, including the cover, so you may need to attach more. It's a classic choice for simple and straightforward content presentation.
- Quarto: A folio, folded in half. This gives you eight pages, including the cover. It's ideal for slightly more detailed content without overwhelming the reader.
- Square: Folded like a map, this gives you twelve pages, including the cover. It's a fun and interactive format that can surprise and engage your audience.
- Accordion: This gives you sixteen pages, including the cover. This format is excellent for storytelling or sequential art, providing a continuous flow of content.
- One-piece: A variation of the accordion, this gives you eight pages, a book-like structure, and a poster-like back. It's a versatile option that combines the benefits of a booklet with the visual impact of a poster.

How to design a zine's layout:
Once you know the sequence of your zine's content, you can start designing the layout of each page. An effective layout not only enhances readability but also adds an artistic dimension to your zine.
If you're making your zine with a computer, we recommend using software like InDesign or Scribus (free) instead of word processors, although they allow folded layouts. If you're going for a DIY approach, we recommend designing with a pencil or with a light blue crayon, which will not appear in the photocopies. Consider experimenting with different fonts and text sizes to emphasize certain parts of your content.
Search for ideas online and take inspiration from your favorites. A zine is a dynamic, rule-breaking medium, so it's always a good idea to look for strong lines and geometrical patterns that catch the reader's eye and tell them what page to look at next. Incorporating such elements can also create a visual story that complements the written content.

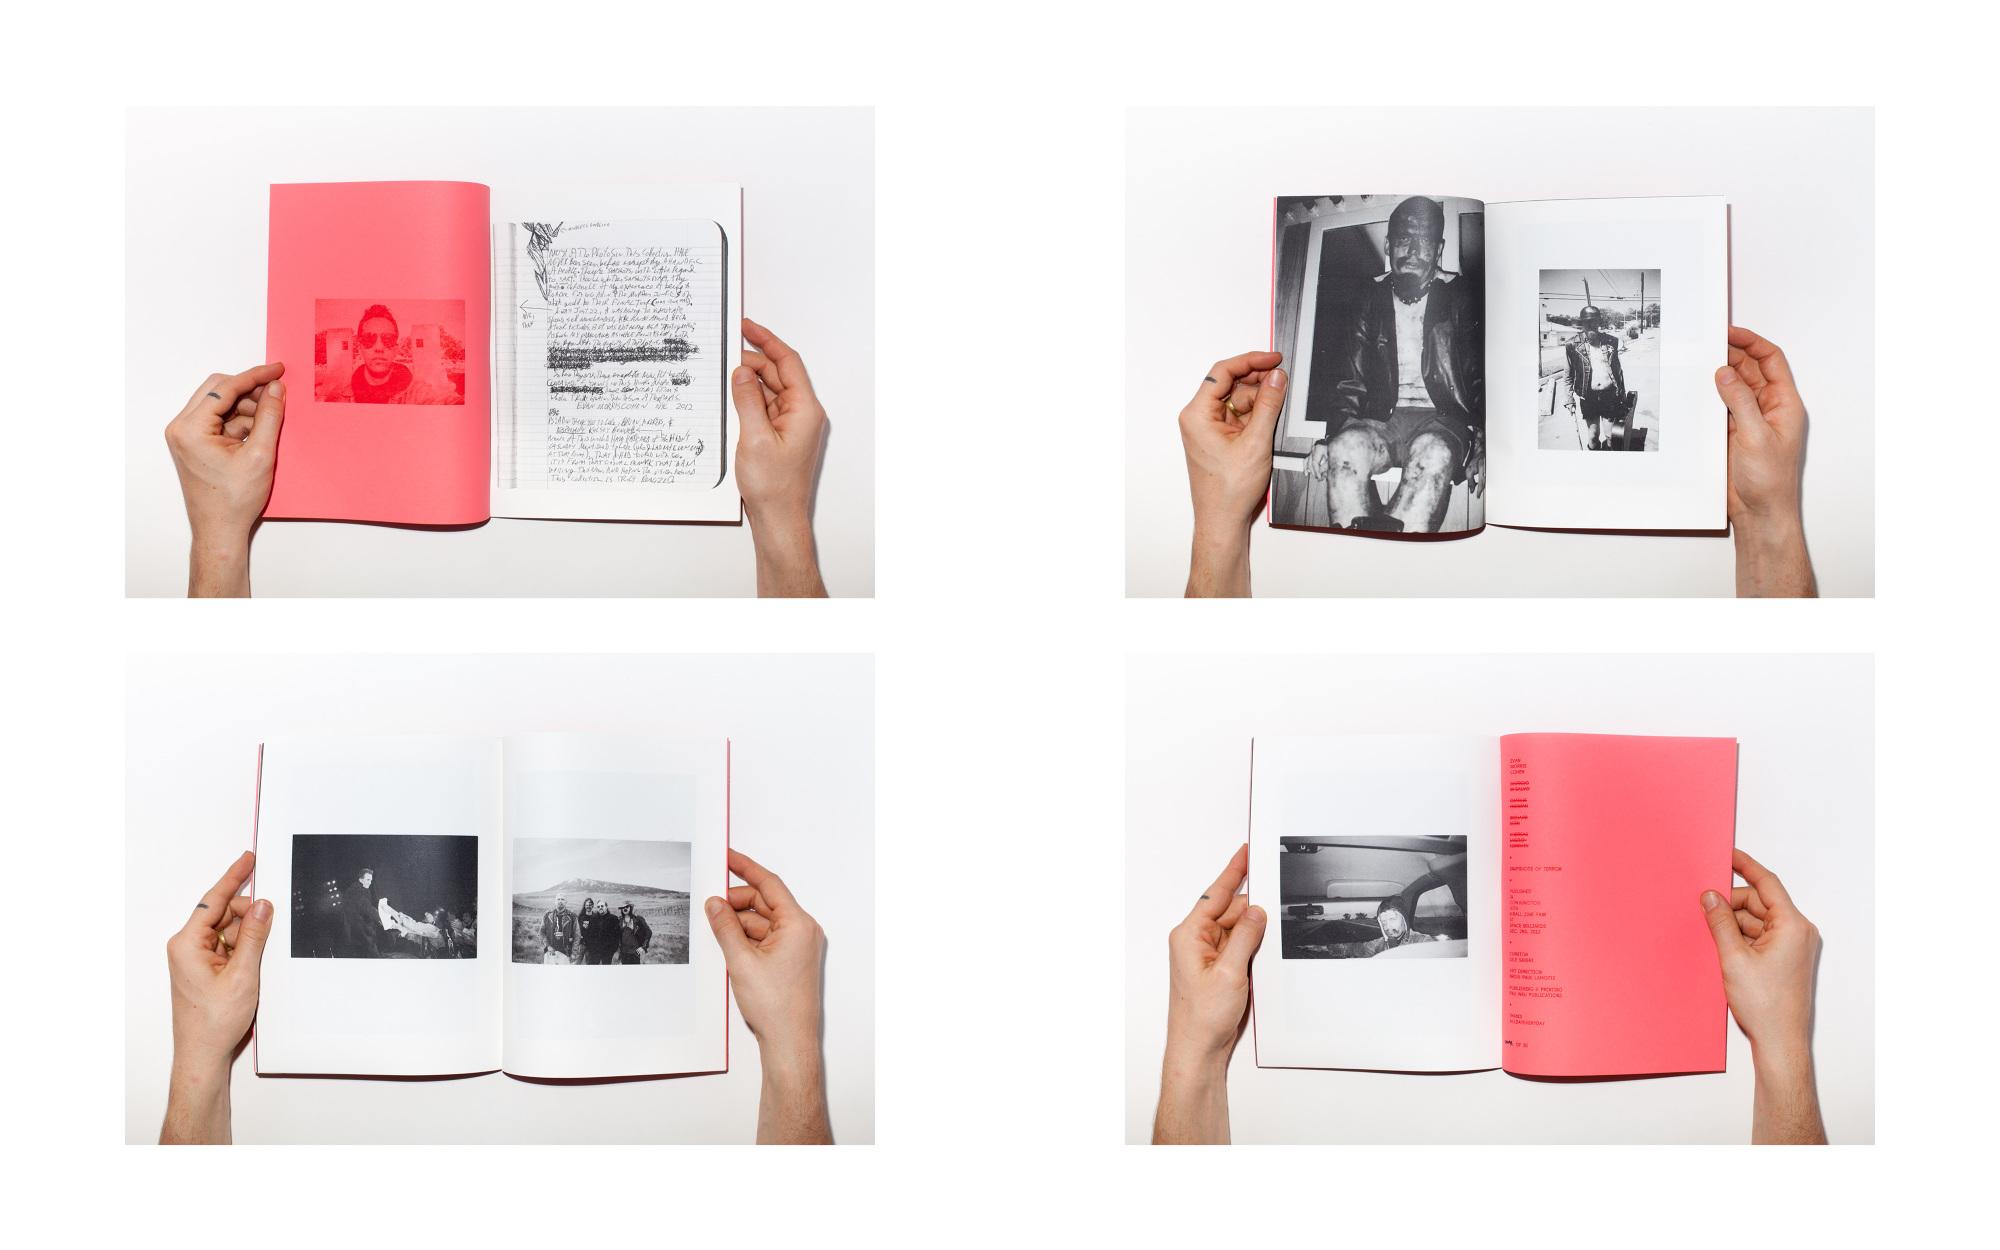
How to make the master copy of a zine:
Even if you have a design in mind, you can still experiment with and tweak your zine's content at this stage. This is the zine that you will photocopy, so it's useful to see if what you were imagining works on the page. This is also the time to take a look at your budget again, as the colors of the ink and the quality of the paper you need will alter the price. Consider whether you want to use color strategically to highlight certain sections or elements.
Print or make the content and cut and paste it as if you were making a collage; we recommend combining hand-written or hand-drawn elements with more professional content, which you can re-appropriate and alter. Use a glue stick, which will allow you to rearrange it. Collaging allows for a textured, layered effect that can make your zine visually interesting.
We recommend making the master copy in white paper and black ink, as it's simpler but will work better once you make the copies. Be very careful with the edges of each page, as they might not show up depending on the configuration of the printer. Ensuring clarity and precision in your master copy will save time and resources during the printing process.
Always keep the master copy of your zine for possible second runs. This ensures that you have a template ready for future issues or reprints.

How to print and bind a zine:
You're almost done! Go to a printer or wherever there is a photocopier that you can use and make the copies. It depends on the quality and configuration of the machine, but as a general rule you should take this into account:
- Strong contrasts will work best. High-contrast images and text ensure that all details are clear and legible.
- Glossy paper can shine on the photocopier, creating white spots. Consider using matte paper for a more professional look.
- Pencil and light pens can look too faint or not appear at all. It might be better to use darker inks for consistency.
Once you have the papers, it's time to bind or fold them to turn them into real zines. Different ways of arranging a zine include:
- Unbound: Loose pages, if any, are held between the folds. This option allows for flexible updates and additions.
- Wrapped: Loose pages are wrapped with a band, string, or ribbon. This adds an artistic touch and can be used to emphasize the handmade quality.
- Stapled: Some photocopiers have the option to staple documents automatically. You can also staple different folios together with the help of a long-armed stapler. It's a practical choice for a clean finish.
- Stitched: This is the craftiest, most artistic option. Hand-stitching adds a unique, personalized touch to your zine, making it a collectible piece.
How to start your own zine:
Now that you've got the copies - few zinesters print more than a thousand - it's time to distribute them. You can do it the old-fashioned way and bring them to independent bookshops and art galleries, but nowadays you can also distribute them in fairs, upload them to online collectives, and sell them in online shops. Additionally, consider participating in zine swaps or exchanges to broaden your reach and connect with other creators.
If you're looking to succeed commercially with zines, you must catch the reader's attention with a statement cover and a good title. Adding a subtitle clarifying the theme or purpose of your zine is also particularly useful. A well-crafted cover can be a powerful marketing tool, drawing potential readers in and inviting them to explore further.
Add some contact information; your website, email, or online shop. This way, readers will be able to share their enthusiasm and spread the word. Building a community around your zine can lead to loyal readership and collaborative opportunities.
This is how to make your own zine. If you have any tips, ideas, or doubts, please tell us in the comments section. Get to work and let your creativity shine through your unique zine!

If you want to read similar articles to How to Make Your Own Zine, we recommend you visit our Crafts & leisure category.


