How to Make Coloured Chalk

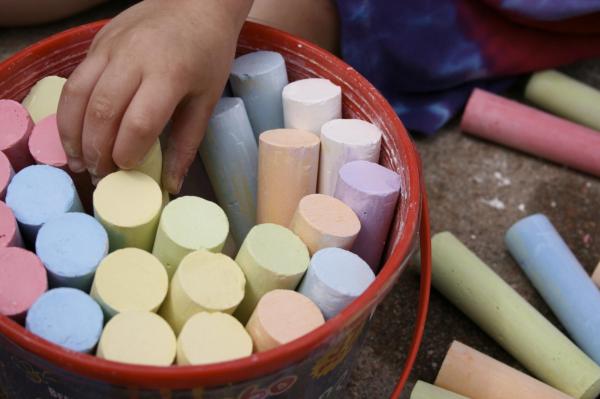
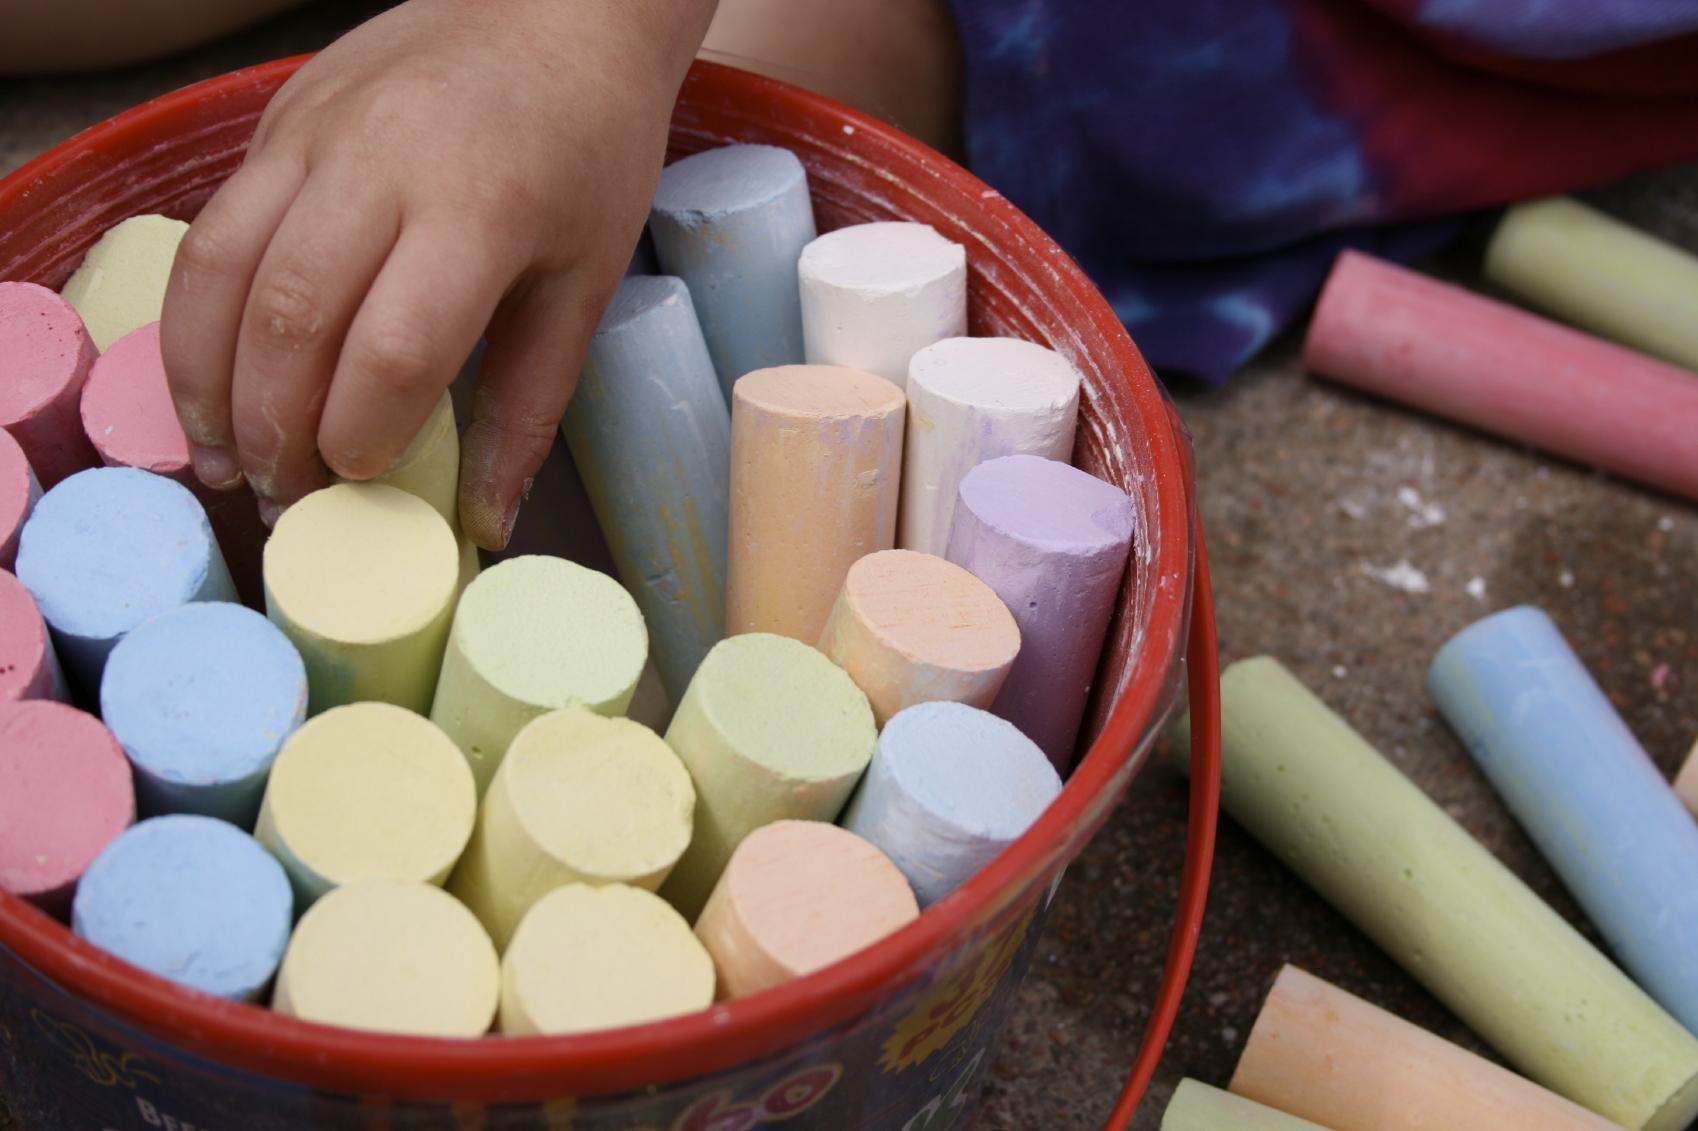
Chalks are a tool that can stimulate creativity and unleash the imagination. Furthermore, children love them and can have fun by making them themselves. In this case, we will explain how to make colored chalk, so that we are not just limited to the classic white chalk. Making it is much simpler than it sounds and it doesn't take much time. You can make the most of making them as a family activity and have a good time. At OneHowTo we explain the steps you need to follow to know how to make colored chalk easily and quickly.
Steps to follow:
To begin with, we have to take into account the materials that we'll need to make our colored chalk:
- White plaster, also known as plaster of Paris.
- Water.
- A plastic container for each color.
- A spatula for stirring.
- Tempera paint to give our chalk color.
- Molds to shape the chalk. You can use an ice tray, as long as you don't use it again.
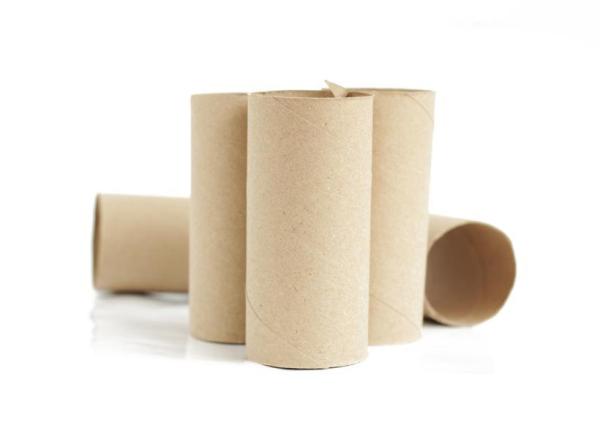
- Cardboard toilet roll tubes to shape the chalk.
- Grease-proof paper.
- Packaging tape or sellotape.
Once we have all the materials, we can begin!
Before we make colored chalk, we need to prepare the cardboard toilet roll tubes, one for each color chalk, before we can add the plaster that we will make afterwards. We just need to put grease-proof paper inside the tube, which afterwards will let us remove the wrapper from around chalk. If we didn't put the grease-proof paper inside, the cardboard would stick to the chalk when it has dried. To prevent the plaster that we are going to put in to make the chalk from going out the other side of the tube, we are going to cover one end with sellotape or packaging tape.
Now that we have finished the tubes that we will use as molds, the first thing to do is to pour some tempera of a different color in each plastic container. Remember that the more tempera we put in, the more bright the color will be. Then add half a cup of white plaster and stir well with a spatula until there are no lumps. You can also create new colors by mixing them.
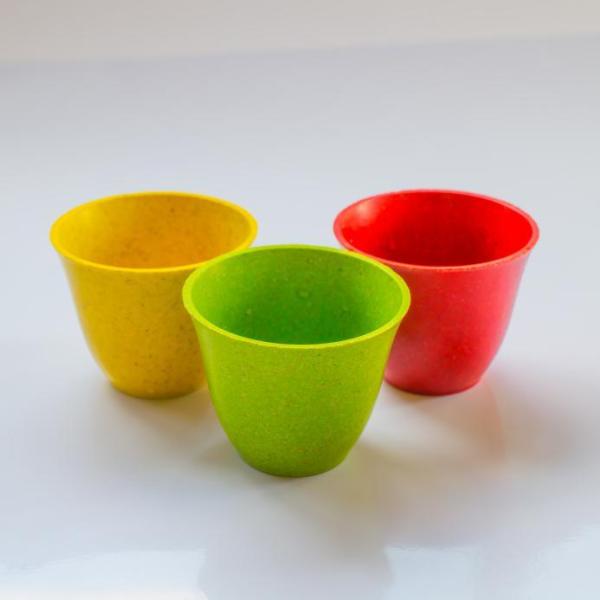
Once the lumps have disappeared, add half a cup of water to each plastic container and stir until you have a pasty substance. When we our mixtures of colored tempera, plaster and water have been well mixed, now we can add the mixture of each container into a separate cardboard tube. We can use a spoon to make it easier to put into the tube. Another way of putting the plaster into the tubes is by making a big hole in the corner of a bag and squeezing it to make the plaster to come out.
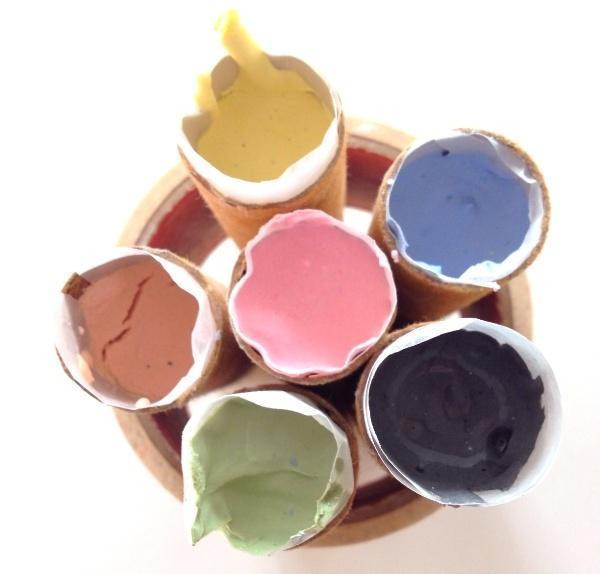
With the chalk plaster in each color, we can use an ice tray or pastry molds to shape them. It is a good idea to have more than one type of chalk, if we don't want to only have the regular type. Once we have filled all the molds, we just leave them to dry for a few hours so that the moisture evaporates. After 2 hours, take the cardboard around your chalks off and wait for at least 24 hours before using them. Afterwards your chalks will be ready to start drawing with.
If you enjoyed this article on how to make colored chalks, then we recommend:
If you want to read similar articles to How to Make Coloured Chalk, we recommend you visit our Crafts & leisure category.
